Use the Client's Placements form to record any job placements and long-term interventions (such as mentorship and internship) under the employment program.
Step 1: To add a placement record for a client, first search for and select the desired client. To review how to select a client, see How to search for an existing client
Step 2: Also ensure that the client is enrolled in the related employment program. For steps on how to enroll a client in a program, see How to enroll a client in a program
Step 3: Once you have selected the desired client and confirmed they are enrolled in the related employment program, click on Employement > Client's Placements (552) from the menu bar.

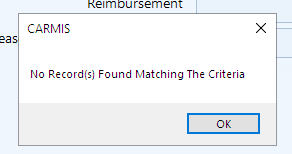
Step 4: You should then see the Client's Placements form. Note that if there are no existing placement records for the client, a message will appear saying "No Record(s) Found Matching The Criteria". Simply click "OK" on this message.
Step 5: Click Add from the toolbar to add a new employment placement.

Step 6: The Client's Placements form will now open. Enter the required client information in the following tabs:
- Placement Details: for information related to the client's placement.
- Service Details: for information about the services you provided in enabling and supporting this placement.
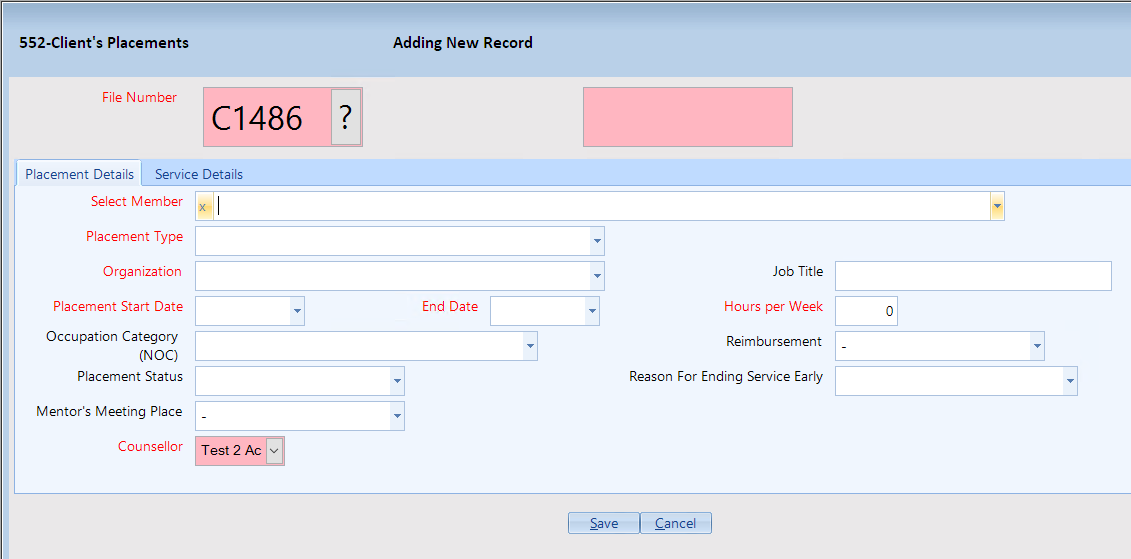
Placement Details Tab
Select Member: Select the applicable client member for this placement record
Pro Tip: If the member is unavailable here, please ensure that the client is selected and enrolled in the related employment program (see steps 1 and 2).Organization: Select the company where the client is placed
Pro Tip: This form will help you to add a new organization to the database, if it does not exist already. Simply enter the full name of the organization and follow the prompts.Placement Start and End Date: Specify the duration of the employment
Pro Tip: For permanent placements, use the end of your service support for the end date.Hours per week: Specify the number of working hours that would be performed every week by the client
Placement Status: Specify the status of this placement
Reason for ending service early: Specify why a placement was terminated
Use this if the service was ended early for any reason.Mentor's Meeting Place: Specify where the mentoring will be taking place.
Required for mentorship-type placements only.Service Details Tab
All Fields: Specify the details of your services/support provided to the client.
These details are similar to the details entered in Case Notes for any 1-to-1 services.
Step 7: Once all the information has been entered, click the "Save" button at the bottom of the form to save the employment placement information. Cancelling or exiting the form without saving will result in all information being lost.