The Waitlist form allows you to create profiles for individuals waiting to receive your agency’s services. When the individual eventually begins receiving services, CARMIS will allow you to convert the waitlist profile into a full client profile. Waitlist entries can be added either by counsellors at your agency or via online registration forms (Smart Forms).
How to Add a Client to the Waitlist
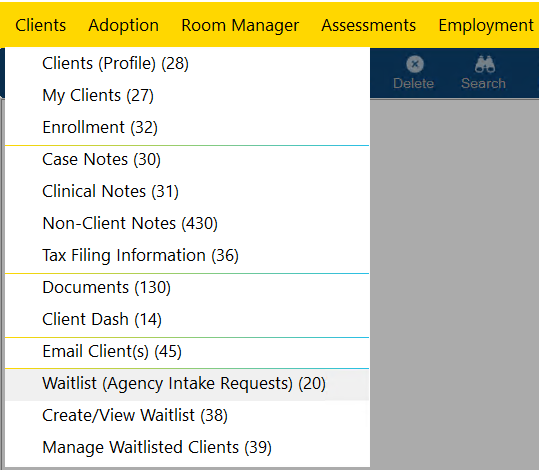
Step 1: Using the top navigation menu, navigate to the Clients > Waitlist (20) form.
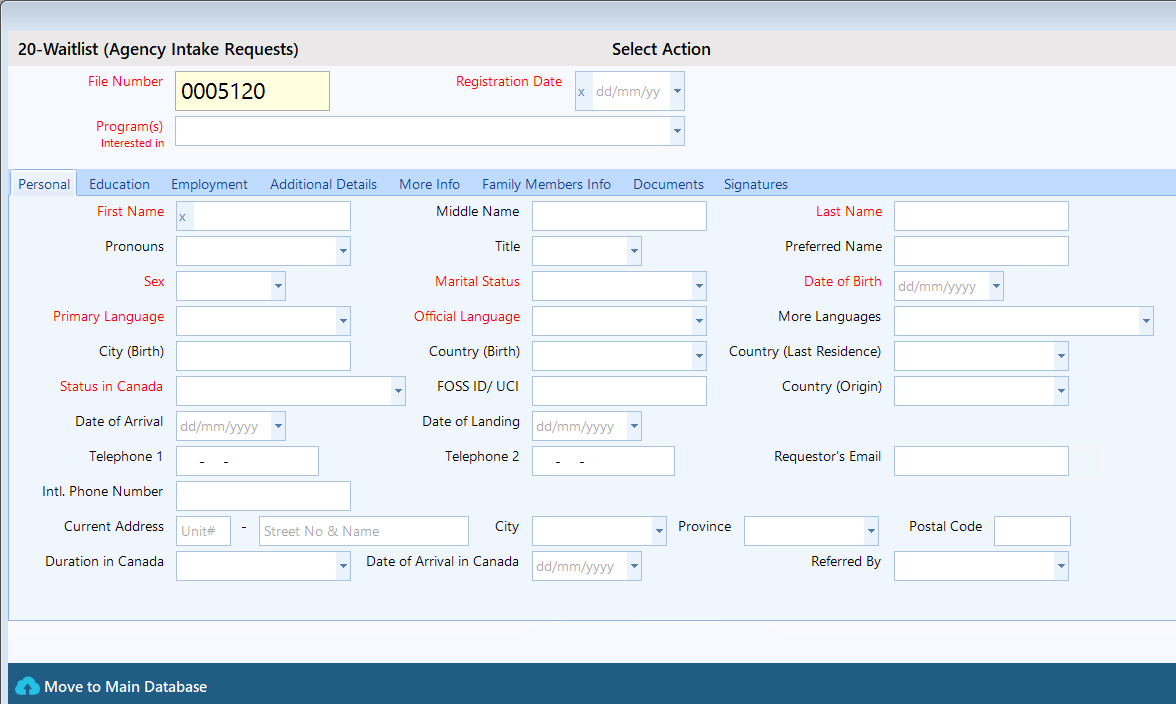
This will open the Waitlist form shown below.
Step 2: Check if the client has an existing waitlist profile.
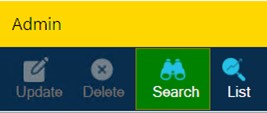
To search for an existing waitlist profile, start by clicking Search from the toolbar and view the steps as listed in the How to search for an existing client guide.
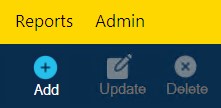
Step 3: If the client does not have a waitlist profile: You can proceed with adding the client to the waitlist by clicking Add from the toolbar.
If the client already has an existing waitlist profile: If the client’s record needs to be updated, click Update from the toolbar. Otherwise, if the client’s waitlist record is already up to date, then no further action is needed.

Step 4: Enter the individual’s waitlist information. Mandatory fields will be labelled in red, and optional fields will be labelled in black.

Once the first tab has been completed, you will be able to find more fields across the other tabs of the form.
Step 5: Once all changes have been completed, click Save. Note: Cancelling or exiting the form without saving will result in all entered information being lost.

Converting Waitlist Profiles into Full Client Profiles
If a waitlisted client begins receiving services from your agency, CARMIS will allow you to convert their waitlist profile to a client profile. Please see the steps below.
Step 1: Navigate to Clients > Waitlist (20) on the yellow navigation bar at the top.

Step 2: Search for the waitlist record that you would like to move.
Step 3:
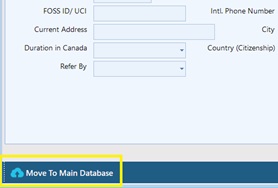
If you found the client’s waitlist profile: While viewing the waitlist profile that you would like to move, click on the Move to Main Database button at the bottom left. This will convert the waitlist record into a client profile. If a matching client profile already exists, then the waitlist record will be used to add supplemental information to the existing client profile.
If the client does not have a waitlist profile: you will need to either you will need to either create a new waitlist record or create a client profile directly.
Additional Details
Note that there are some tabs within the interface that offer special functionality, including:
- Family Members Info: This tab functions similar to the Add Member functionality. If there is a family on the waitlist, then family members can be added in this tab, and the waitlist file will get moved as one family file when Move to Main Database is pressed.
- Documents: The Documents tab can be used to store any of the client’s documents while they are on the waitlist. Upon Move to Main Database being pressed, the documents will be transferred to the new client profile.
- Signatures: Currently, signatures can only be added via online registration forms. The purpose of signatures is for obtaining client consent on online forms.
