
How to Upload Documents
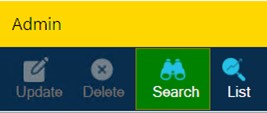
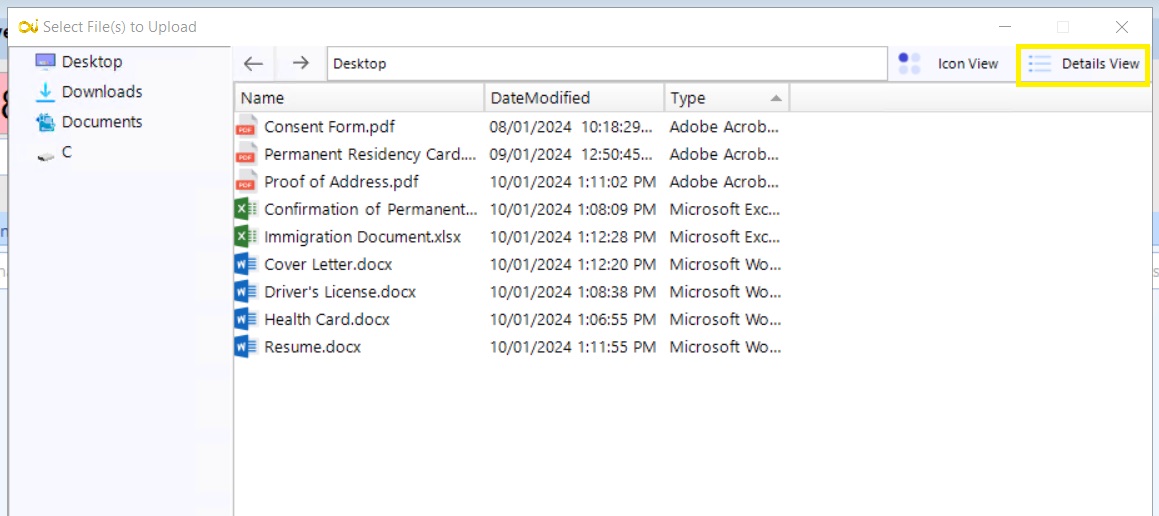
Step 2: To upload documents in the system, you first need to search the specific client file where the documents will be uploaded.
For detailed instructions on how to search for an existing client, please refer to our comprehensive guide: How to search for an existing client guide.


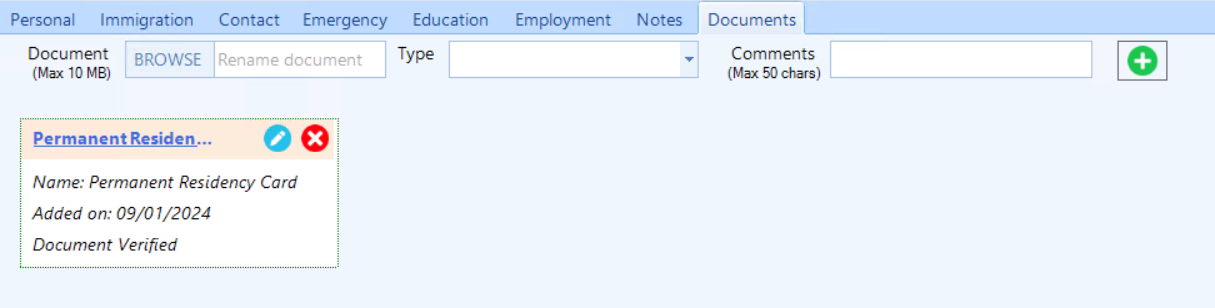
Step 7: In the "Comments" field, you have the option to add comments or extra details about the document you've uploaded. This field allows a maximum of 50 characters. For instance, you might add a note like "Document Verified" to provide additional context or status about the document.
This feature is useful for brief remarks or identifiers for the uploaded document.

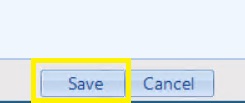
Step 9: Click on "Save" to upload the document(s) to the client profile.
Note: Cancelling or exiting the form without saving will result in all entered information being lost.
Frequently Asked Questions (FAQs)
Q: How to undo a file that has been added to the panel, before pressing save?
A: To remove a file you've selected for upload, simply click the "x" icon next to that file. This action will immediately delete the file from the upload queue, ensuring it is not included when you save and complete the upload process.
Q: How to search the documents?
A: You can type in the name of the document in the search bar, then click the adjacent magnifying glass to display the searched document. This function performs a search within both uploaded and queued document cards.
Q: What is the purpose of the "Expand All" and "Collapse All" buttons?
A: The 'Expand All' button is designed to help users effortlessly view all subsections or content of a document card, ensuring easy and comprehensive access. On the other hand, the 'Collapse All' button allows for a tidier and more organized interface by hiding these sections, making navigation simpler and more streamlined.

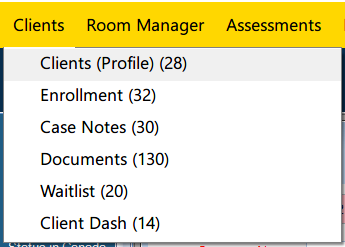
A: Besides Client Profile (28) form, the management of documents can be done through other forms across CARMIS, such as:
- Documents (130) form
- Waitlist (20) form
- Moving Checklist (191) form
- Assessments - documents function can be added to any organizational specific assessment form if available to your organization. Please reach out to the Support for more details.
Q: What could be the reason for experiencing slowness while browsing files in the system?
A: Please know that the system establishes a secure link with your local file structure, which might result in a slight delay during this process.
Q:Why isn't the download button appearing on some of my documents?
A: The download button only appears for files that have already been uploaded. If you are not seeing the download button, it means the document is still in the upload queue. This will only be processed after you press the 'Save' button.
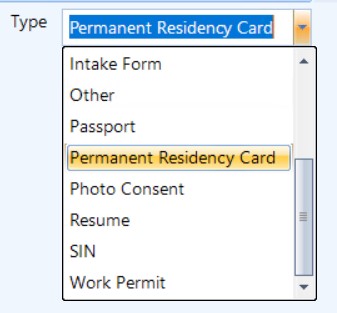
Q: The document type I need to add isn't listed in the dropdown menu. How should I proceed?
A: If the document type you need is a common one within your organization or program, CARMIS administrators can add it for you. They can do this by navigating to Admin > Masters > Document Uploads > Document Types (529).
For document types that are not frequently used, you can select the "Other" category from the dropdown menu. This allows you to specify a custom name for your document along with any relevant comments.
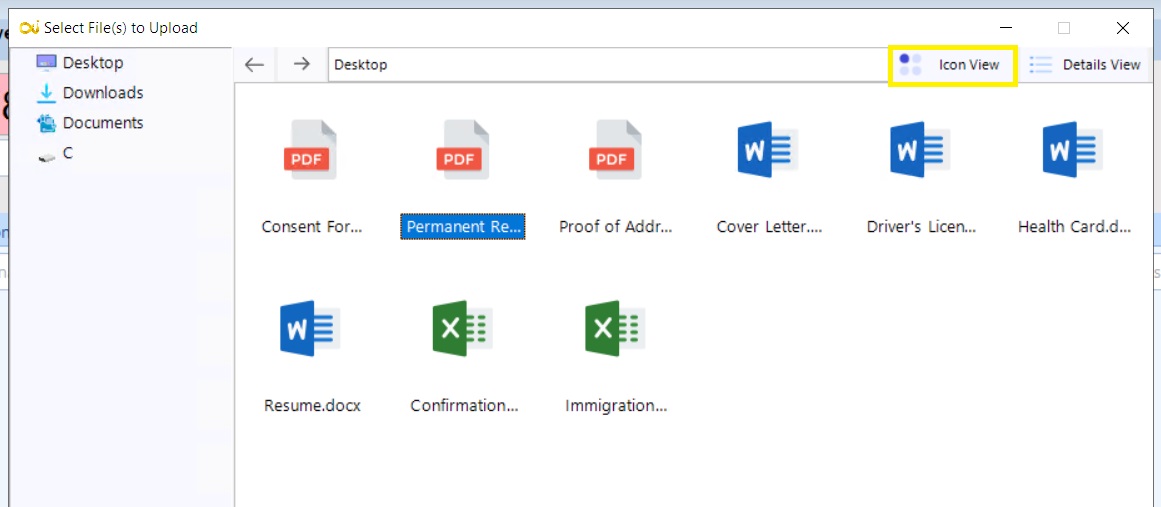
Q: What is the maximum number of files I can upload at once?
A: You can upload a maximum of 10 files at once.