
In CARMIS, users can upload and update documents, enhancing file management efficiency. Documents can be managed across various forms in the system.
Additionally, there's a centralized location, the "Documents (130)" form, where all documents are collectively accessible for management. The guide specifically uses the "Clients (Profile) (28)" form as an example to demonstrate updating client documents, providing a practical illustration of the process.
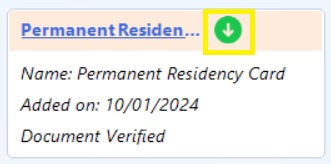
How to View/Download Documents
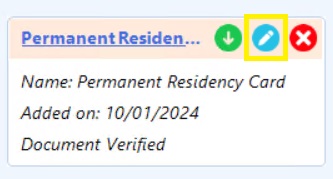
How to Edit the Document Attributes (name, comments, type)
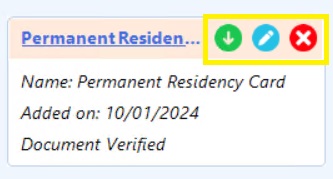
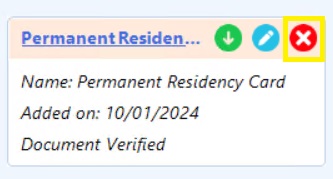
Step 2: On all documents, you will notice three icons: View, Edit, and Delete. These icons enable you to view/download, modify, or remove the document.
Note: Be aware that the visibility of some icons may depend on your user access rights in the system.

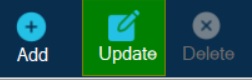
Step 4: Once you are done with the editing, please click "Save".
Note: Cancelling or exiting the form without saving will result in all entered information being lost.
How to Delete Documents
Step 1: Click on the "red delete icon".
Note: Deleting a document will result in its removal across all forms in CARMIS. Once a document is processed in the document deletion queue following the "Save" action, this action cannot be reversed.
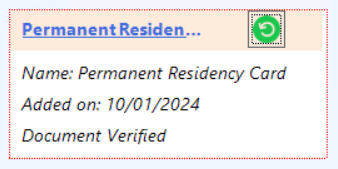
Step 2: To delete the document, please click on "Save".
Note: To complete the deletion process, you need to click the "Save" button. If you don't do this, the deletion queue will be cleared without actually deleting the documents.
Frequently Asked Questions (FAQs)
Q: I am not able to delete a document, what should I do?
A: The visibility of certain icons might be contingent on your user access level within the system. To obtain higher access rights, please contact your system administrator.