
If your agency uses the CARMIS Room Manager / Housing module, this article will provide instructions for moving tenants in/out of rooms. If your agency does not use the Housing module or if the client is not currently a tenant, then please instead see How to update the address of a client.
Move-ins/Move-outs Via Client Profile
Please see How to update the address of a client. Please note the following:
- At the step where an address is entered, "New Address" should be selected.
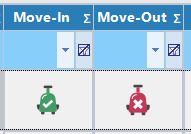
- For move-ins: enter the move date, building, and room number.
- For move-outs: the move date and postal code will need to be entered.
Note that with this method, the client will only appear on Rooms Dashboard if the address details match an existing room.
Move-ins/Move-outs Via Rooms Dashboard
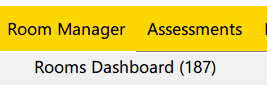
Step 1: Navigate to the Room Manager > Rooms Dashboard (187) form.

Step 3 (move-ins only): For move-outs, skip to step 4. For move-ins you will need to perform a search to select the client you would like to move in. This is very similar to the regular client profile search (described in our guide: How to search for an existing client).
- If this is a move-in, click Search to begin the process of selecting which tenant to move in.
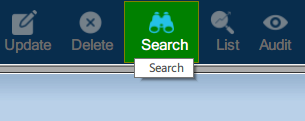
- Enter your search criteria into the top set of fields, then click Search.

- You should now be viewing the client that you would like to move into the room, and you should see "Inquiring Record" near the top to indicate that the search has completed.

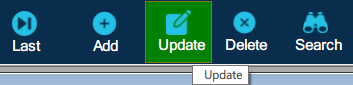
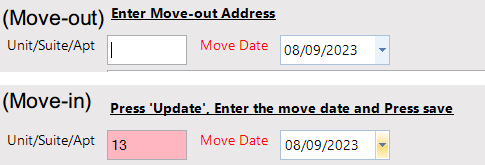
- For move-ins: Move Date will be the only editable field.
- For move-outs: Move Date will be editable, and a new address can be optionally entered.
Additional Notes
- A single move-in or move-out operation will move all members of a family file at once.