This article is for Windows desktop devices. To access CARMIS via Mac or a web browser, please see these articles instead: How to install CARMIS on Mac, How to access CARMIS using a browser.
If you experience any difficulties during this installation, please see our section on Troubleshooting.
New to Parallels
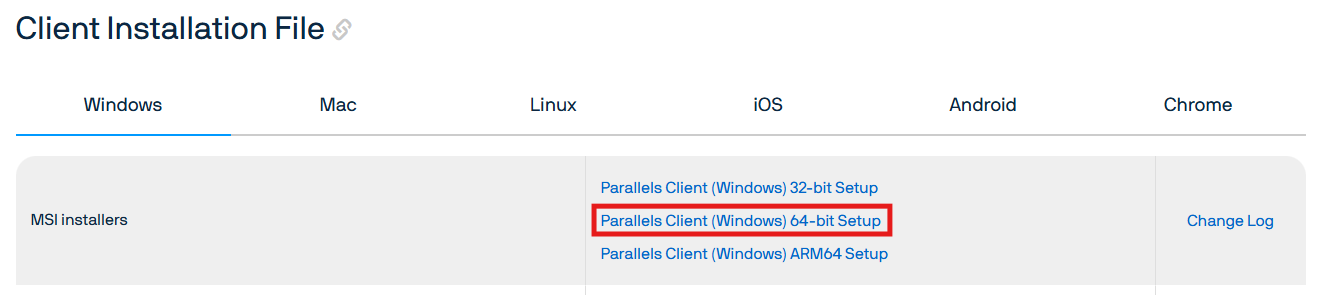
Step 2: This link will bring you to the below menu.
On this menu, click on Parallels Client (Windows) 64-bit Setup. You can find this option under Windows > MSI installers. If necessary, you can use the 32-bit Setup if you are using a 32-bit device.
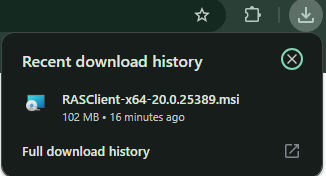
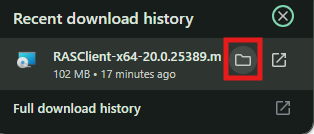
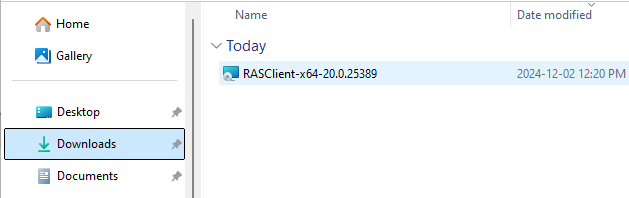
Step 3: The installation file will begin downloading. You can check the download by clicking the download button located at the top-right of Chrome browser.
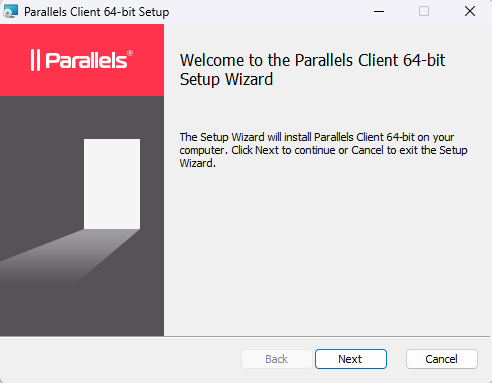
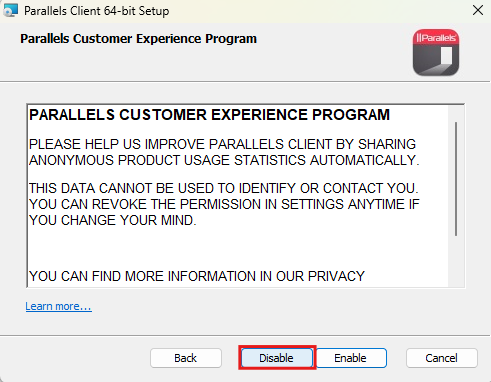
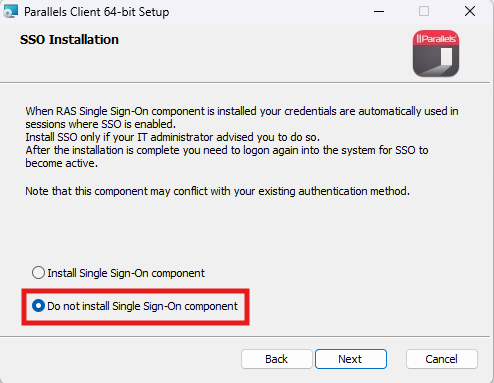
When going through the various installation screens, you will come across these two options:
Parallels Customer Experience Program - Ensure you click on the 'Disable' button.
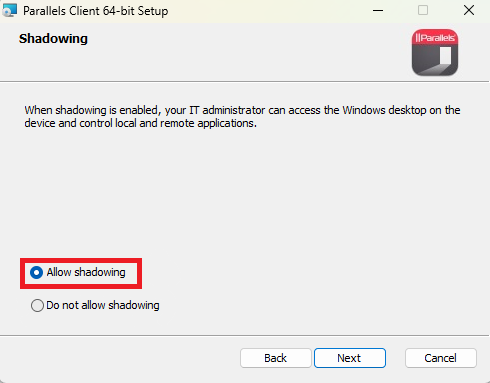
Shadowing - Ensure you click 'Allow shadowing'
Please Note: These options are only suggestions, it is up to you to enable or disable them based on you're personal preference.
Step 9: You will now be asked to provide more details. Please ensure the following settings are set:
- Server: cloud.carmis.ca
- Connection Mode: Gateway SSL Mode
- Friendly name: CARMIS
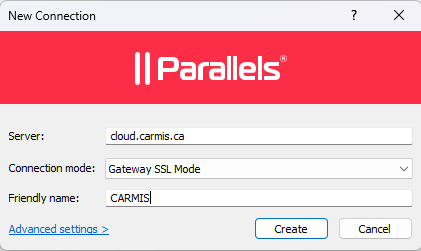
Once these fields have been set, click 'Create'.
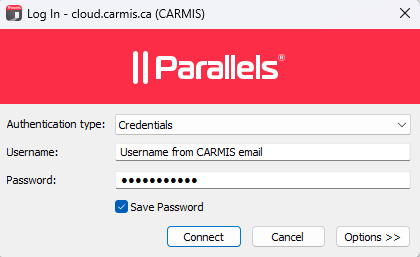
Step 10: Now the login screen will appear. Please see the email sent by CARMIS for your username and password.
Once your CARMIS username and password have been entered, click "Connect" to proceed.
Existing Parallels User, New To CARMIS
(Modern Interface)
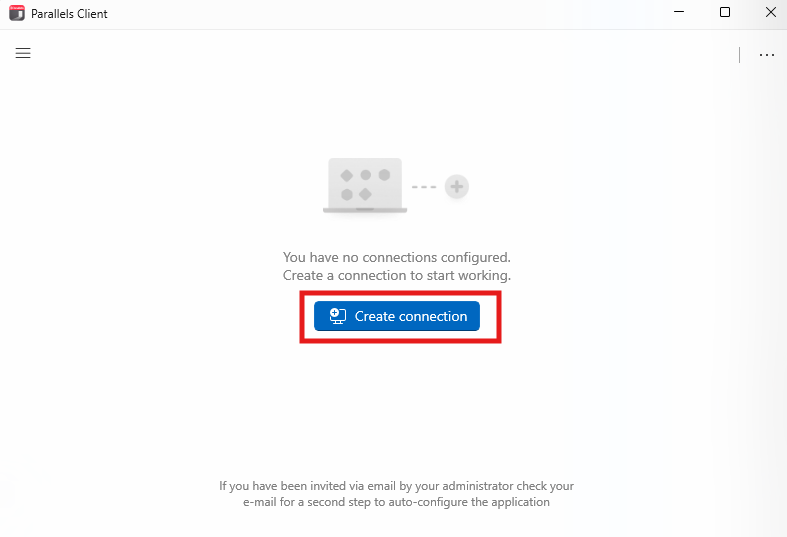
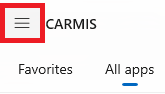
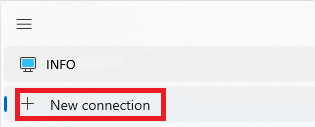
Open Parallels on your computer and click on the three lines at the top left of Parallels Client.
Once the tab opens, click 'New Connection'.
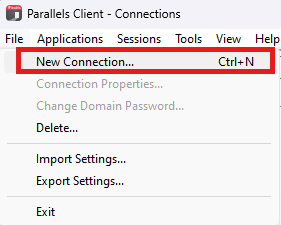
(Old Interface)
Open Parallels on your computer and click 'File' and then 'New Connection'.
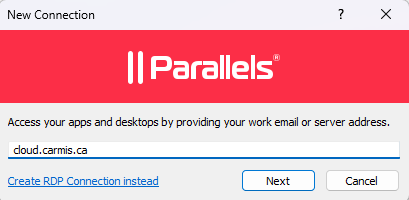
Step 1: The below screen will appear. Enter cloud.carmis.ca and click "Next" to continue.
Step 2: You will now be asked to provide more details. Please ensure the following settings are set:
- Server: cloud.carmis.ca
- Connection Mode: Gateway SSL Mode
- Friendly name: CARMIS
Once these fields have been set, click 'Create'.
Step 3: Now the login screen will appear. Please see the email sent by CARMIS for your username and password.
Once your CARMIS username and password have been entered, click "Connect" to proceed.
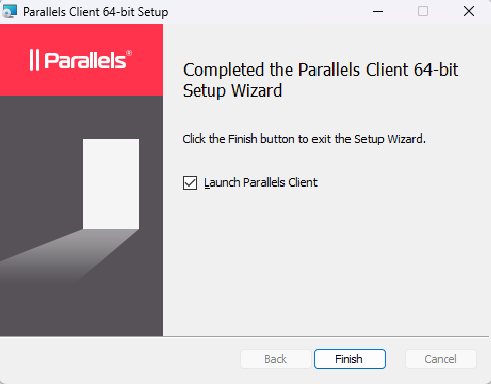
Step 4: If a CARMIS icon appears on your screen, this marks the completion of your installation. You will find that a CARMIS icon has been added to your desktop, which you can use to access CARMIS in the future.
Frequently Asked Questions / Troubleshooting
Q: I am getting issues before step 7 / the screens look completely different from the guide.
A: You may have downloaded the wrong installer. We recommend closing Parallels Client and/or the Setup Wizard and starting back from step 1 with a fresh installer.
Q: I am getting error messages about my username/password.
A: Please ensure both your username and password match the email you received from CARMIS. We recommend typing your username and password manually instead of copying and pasting.
Q: I am getting a message about being locked out of my account.
A: Your account may have become locked due to too many unsuccessful password attempts. Please contact your supervisor/administrator to receive a password reset.
Q: Something went wrong, and I would like to start back at step 7.
A: You can start back at step 7 via the following steps:
- Click on the three lines at the top left of Parallels Client
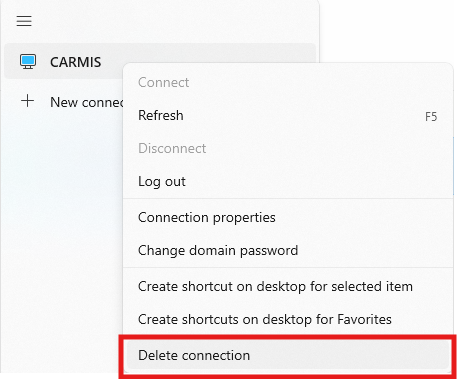
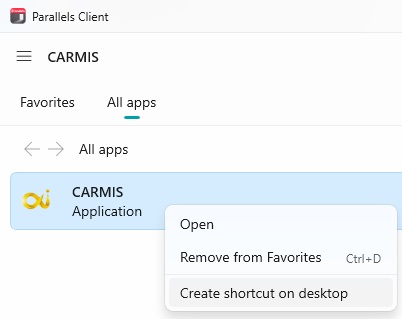
Q: I accidentally deleted the CARMIS icon from my desktop and would like to get it back.
A:
Please see the following steps:
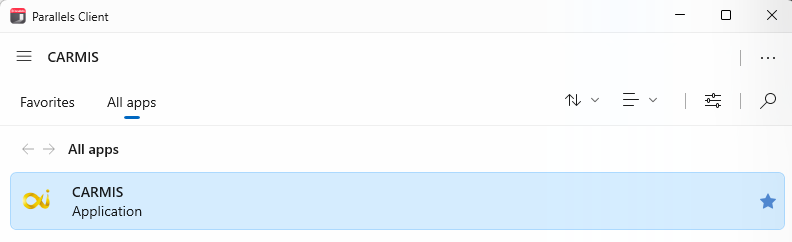
1. Open the Parallels Client application
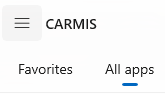
2. Click "All Apps" in Parallels Client
3. Right-click on CARMIS, then select "Create shortcut on desktop"