
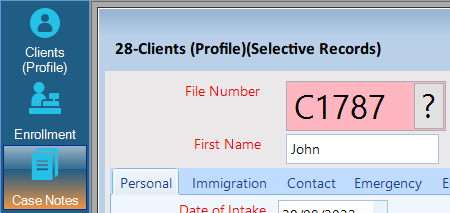
Step 1: To get started on entering a case note for a one-to-one service with a client, you need to first select the client using the Clients Form. For steps on how to search for a client, see How to search for an existing client.
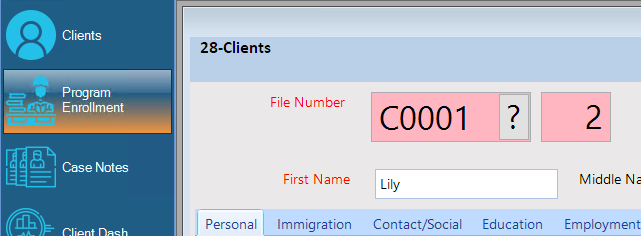
Step 2: Once you have found the desired client, click on “Case Notes” on the left.
Step 3: The Case Notes form will open. This shows all one-to-one services recorded for the client's family file.
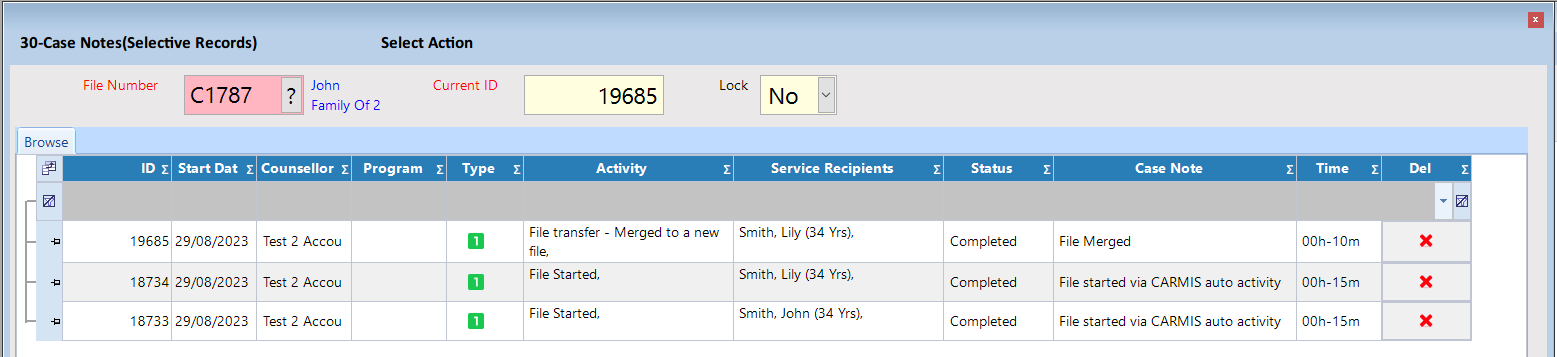
Step 4: To add a new record, click “Add” on the dark blue bar at the top.

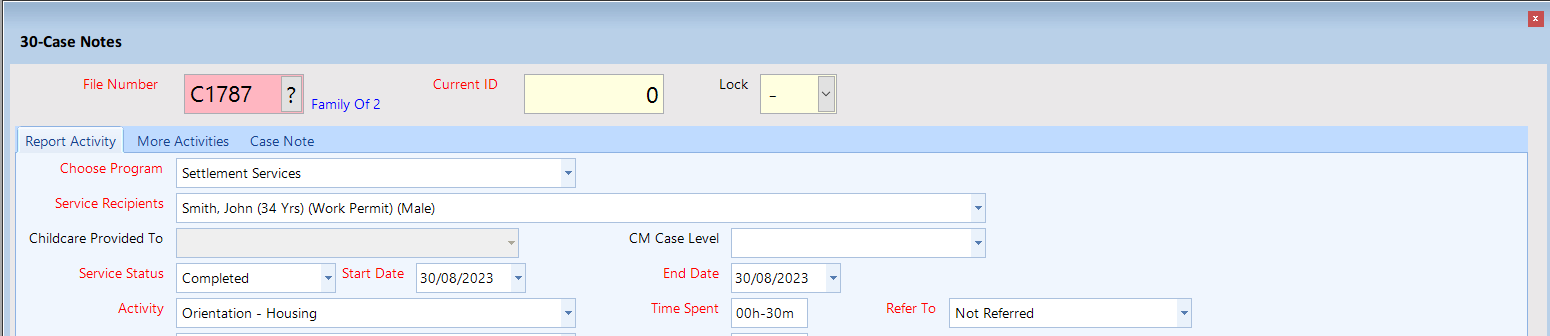
Step 5: A form will open to allow you to enter the details of the one-to-one service. The red fields are mandatory and the black fields are optional. You will see that “File Number” is pre-populated with the client's file number.

Step 6: Start by choosing a program, then select a service recipient (one of the family members) and the service activity (these are predefined by your agency). Fill out the remaining fields as needed.
Tip: If no programs appear under Choose Program, you may need to enroll the client in a program
Step 7: (Optional) The tabs above the fields allow you to navigate to other sections of the form.
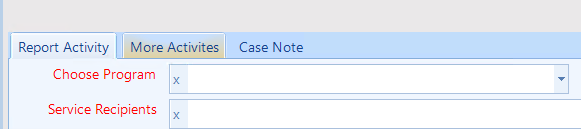
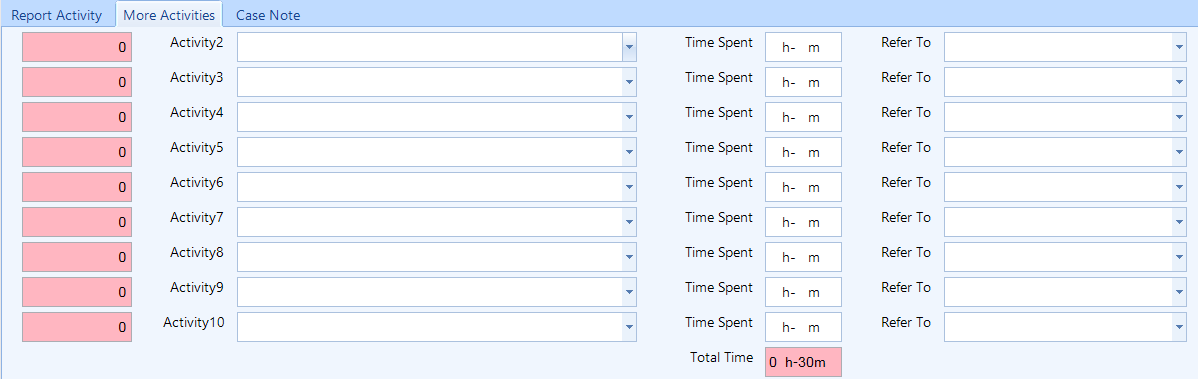
Step 8: (Optional) If you did multiple activities with a client in the same session, you can use the “More Activities" tab to attach the other activities under the same record. The times of all activities, including the one on the “Report Activity” tab, will be summed up as the total time spent.
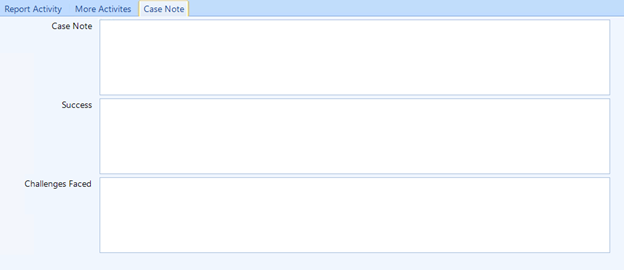
Step 9: If you want to add notes about the service, you can write them in the Case Note tab. There are secondary "Success" and "Challenges Faced" fields focused towards helping with annual reports. Please note that all three fields will stay internal to your agency.
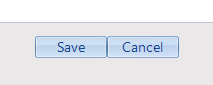
Step 10: Once all the information has been entered, click the “Save” button to save the record.
Video Guide - How to add a one-to-one service (client casenote) 📹
The Email Clients form allows you to send emails to clients from in-app. This form is useful in any situation where you want to send emails to clients based on criteria stored in CARMIS.
Step 1: The first step in emailing clients is to go to the Clients > Email Clients form.
Step 2: Once you are on the form, the next step is to click...
Step 3: Select the recipients
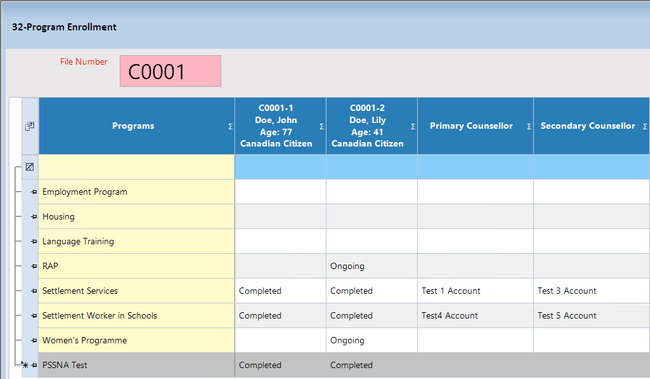
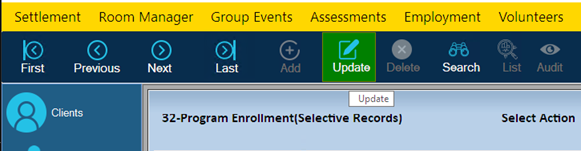
Step 4: To update the enrollment of the clients, click “Update” on the dark blue bar at the top.
Step 5: Select the status of enrollment in each program for each family member.
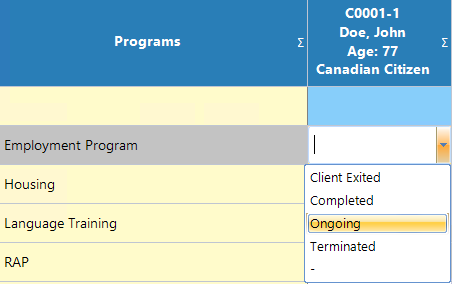
- Click on the dropdown list on the column of the family member to enroll and on the row of the program they are to be enrolled in.
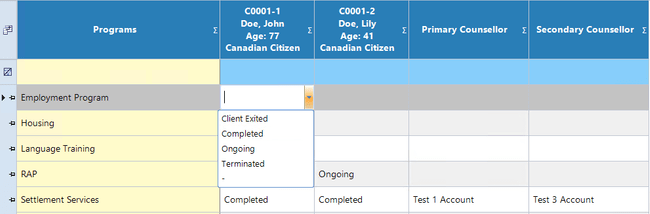
- Select the status of the client in the program from the list. In this case, you would select “Ongoing”.
- Repeat for all family members that you would like to enroll in each of the available programs, as required.
- If required, select the primary and secondary counsellors from the available list of all counsellors in your agency, for each member in the program they are enrolled in.
Step 6: Once the program enrollment is complete, click the “Save” button at the bottom center of the form to save the changes.
