
The managing students form works together with course setup.
Adding Students To A Course
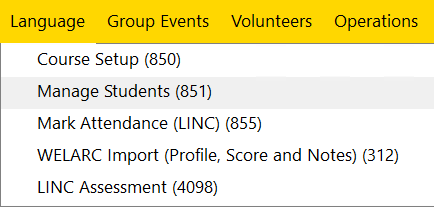
Step 1: Using the top navigation menu, navigate to Language > Manage Students (851) form.
This will open Manage Students form shown below.

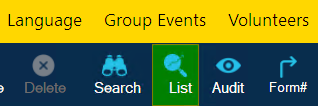
Step 2: Click on the 'List' button located in the toolbar.
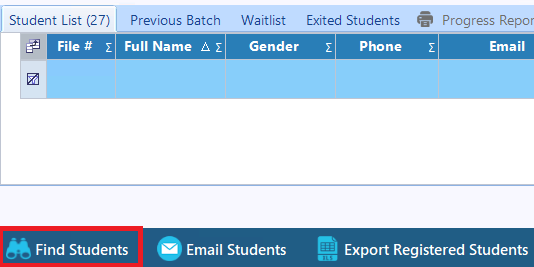
Step 3: Once clicked, from the list view, find and select your course to register students.
Step 4: Once you have selected the course, click on 'Find Students' button at the bottom left of the window.
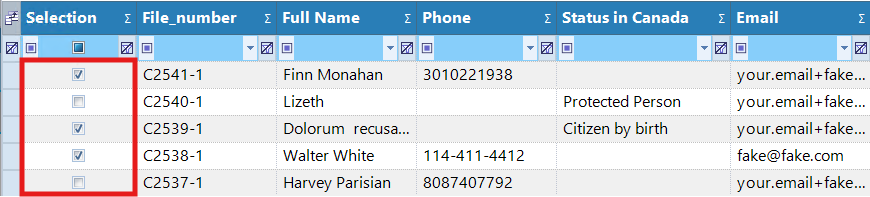
A window will open containing a list of all the students, select the desired students by clicking on the checkboxes.
Once you have selected the students, click 'Confirm Selection' at the bottom right of the window. Now you will return back to Manage Students window and will see your selected students. Click the 'Save' button to save the selected students.
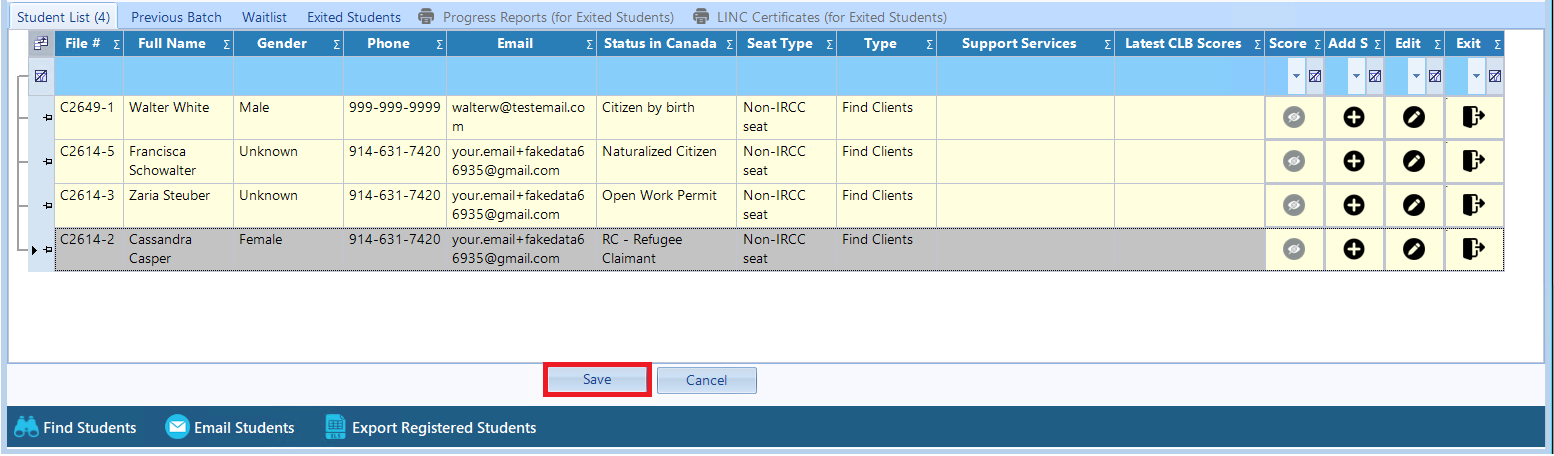
Once students have been saved, you will see that the rows for each student will turn green. This is to indicate that they are registered into the course.

Editing Student Information
Step 1: Using the top navigation menu, navigate to Language > Manage Students (851) form.
Step 2: Click the 'Search' button in the top toolbar to locate the course containing the students whose information you want to edit.
Step 3: Once you have the list of students, click on the 'Edit' icon in the row of the student you want to edit.

When clicked, make the desired changes to the students information.
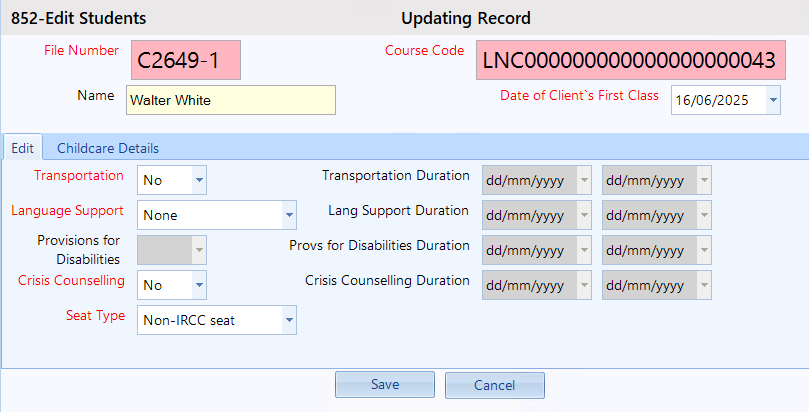
The 'Date of Clients First Class' field is for identifying the clients first class. This can be useful for marking attendance.
Note: The 'Seat Type' for a student can be adjusted based on their 'Status in Canada' and course settings:
-
- If the student is funded by IRCC and over-enrollment is allowed, all three seat options will be available.
- If the student is not funded by IRCC, only the 'Non-IRCC Seat' option will be available.
- If the student is funded by IRCC and over-enrollment is not allowed, only the 'Non-IRCC Seat' and 'IRCC Seat' options will be available.
Step 4: Once done, click the 'Save' button to save your changes.
Adding Student CLB Scores
You can add CLB scores to the student in the manage students form.
Adding CLB score to Student's
Step 1: Navigate to the 'Student List' tab, then click on the '+' symbol on the row of the student you want to add the CLB score too.

Clicking the symbol will open a pop-up prompt. Select 'Continuing Assessment'.
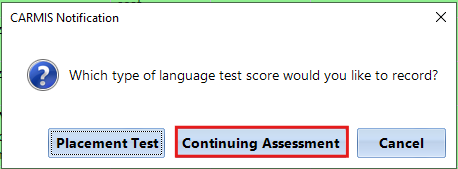
Step 2: Once clicked, a new form will open, 'Continuing Assessment (LINC)'. Fill out the form with the students scores. If you would like to learn more about this form click here: How To Manage LINC Assessment
Step 3: Once you’ve entered the scores, click 'Save'. The updated scores will now appear in the 'Latest CLB Scores' column of the 'Student List'.

Clicking on the 'Eye' icon, will open a new window for LINC assessment, you can view the students CLB scores in more detail.
Managing 'Previous Batch', 'Waitlisted' and 'Exited' Students
When making changes to these tabs, ensure you are in Update mode to make any changes.
Previous Batch Tab:
The 'Previous Batch' tab allows you to view students that were in the course the previous year. If there are no students from the previous year, the list will be empty. In the 'Previous Batch' list, a '+' symbol will appear on each row of a student. Clicking '+' will re-add the student to the current year's course.

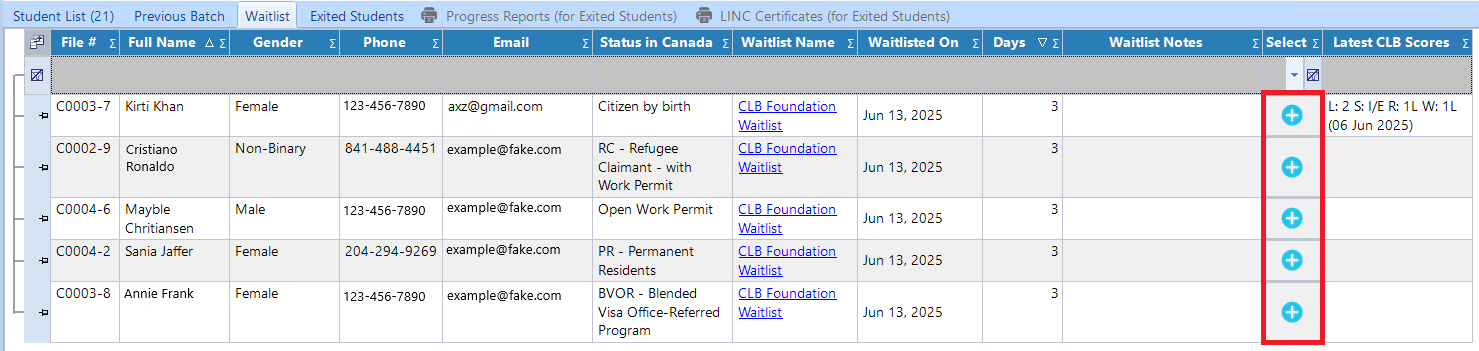
Waitlist Tab
The 'Waitlist' tab allows you to view students that are waitlisted for the course's activity. In the 'Waitlist' list, a '+' symbol will appear on each row of a student. Clicking '+' will add the student to the current year's course.
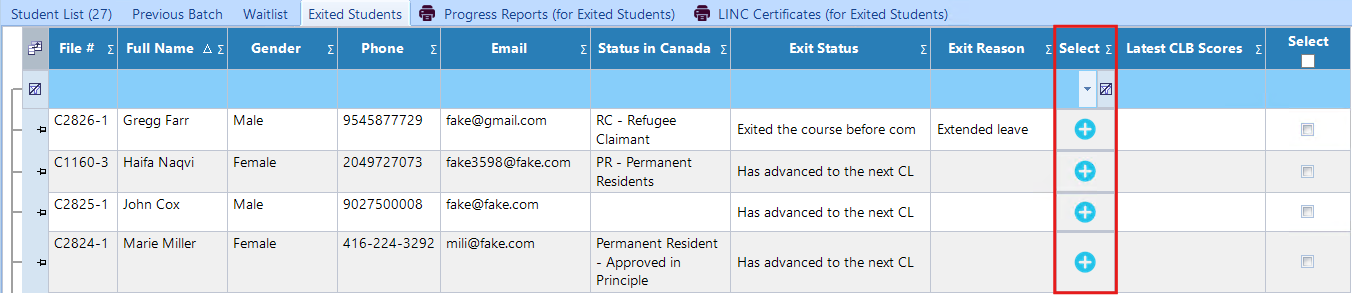
Exited Students Tab
The 'Exited Students' tab allows you to view students that were removed from the course. In the 'Exited Students' list, a '+' symbol will appear on each row of a student. Clicking '+' will re-register the student to the course.
Printing Students Documents
If you want to print student documents, please visit our article on: How to print student reports
Email Students Button: Clicking the 'Email Students' button allows you to send an email to all the students. To learn more, check out our article on: How to send emails from within CARMIS.
Export Enrolled Students Button: Clicking the 'Export Enrolled Students' button allows you to download an Excel sheet of all the enrolled students in your course.
Frequently Asked Questions (FAQs)
Q: I am trying to edit a student's information, but everything is greyed out?
A: When you are editing a students information and the fields are greyed out, that means that the course does not have any 'Support Services' enabled. Navigate to the course setup and select the course. Then go to Additional info, then for the field Support Services, select the appropriate services.
Q: Why am I unable to print a certificate or progress report for a student?
A: Ensure the student has been exited from the course and has valid CLB scores. Certificates and reports are only available for exited students with scores.