web analytics
  1. Home
  2. Knowledge Base
  3. Employment
  4. How to manage an Employers Directory

How to manage an Employers Directory

CARMIS allows you to manage employer details and their contacts.

Adding a new Company in the Employer Directory
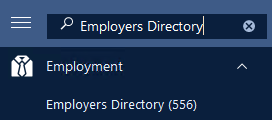
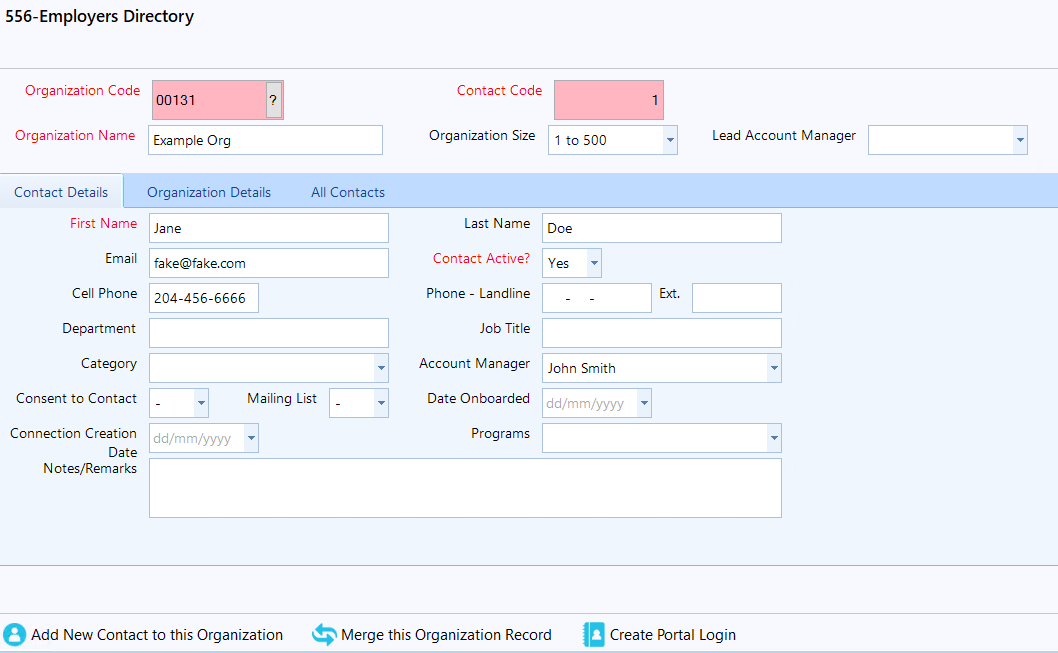
Step 1: Using the search bar, search for Employers Directory (556).
Image
This will open the form as shown below.
Image
Step 2: Click on the "Add" button from the toolbar.
Image
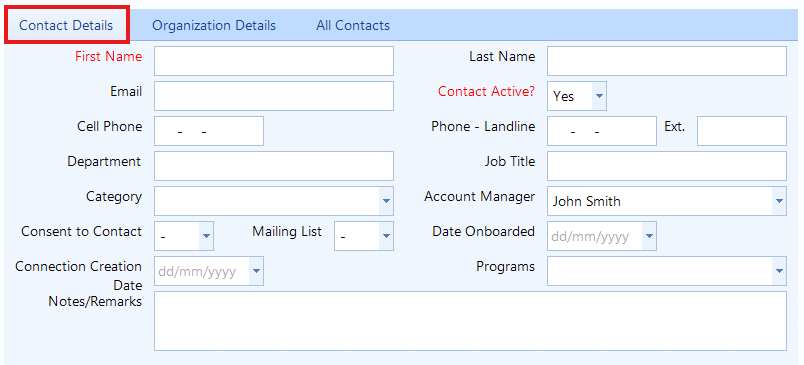
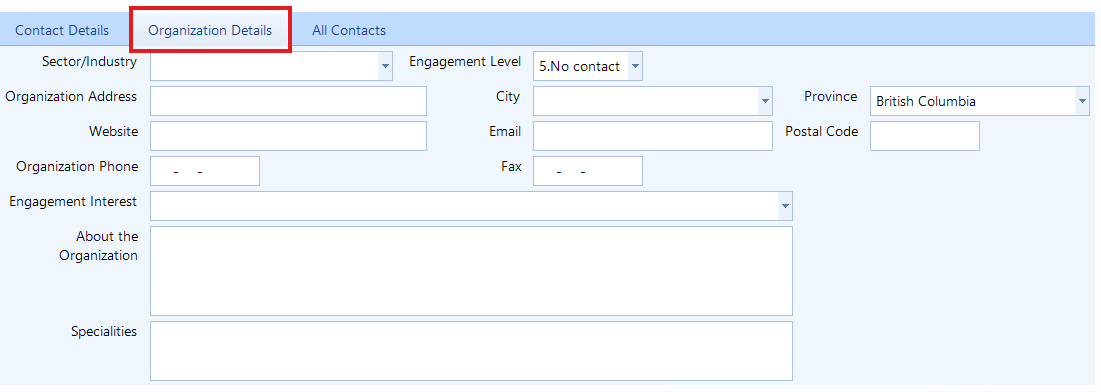
Step 3: Now you can start entering all the required information at the top and in the tabs "Contact Details" and "Organization Details".

Contact Details Tab: The Contact Details tab is used for creating a contact point within the organization. 
Image

Organization Details: The Organization Details tab is used for entering information related to the organization.
Image

If the Organization (agency / SPO) manages relationships with the Employers within their service area, for the purpose of gaining employment opportunities for the SPO's clients, then the additional fields on Employer Details form will be helpful to the SPO users.

Key Fields:

Engagement Level: The current level of relationship of SPO with the Employer

Engagement Interest: The interest areas of the Employer, that the SPO users can use during their relationship building

Step 4: Once all changes have been made, click on the "Save" button located at the bottom of the window.
Image

Step 5: You can also view your newly added contact by clicking on "All Contacts" tab.

Image

Searching for a Employer Directory 

Step 1: Using the search bar, search for Employers Directory (556).
Step 2: Click on the "Search" button from the toolbar.
Image
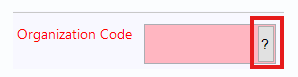
Step 3: In the  "Organization Code" field click on the "?" button to search for an organization.
Image
Step 4: Once you have found a company from the list, double-click on it and click on the "Search" button.
Image

Updating a Employer Directory 

Step 1: Using the search bar, search for Employers Directory (556).

Step 2: Click on the "Search" button from the tool bar to search for a company which you would like to update.

Step 3: Click on the "Update" button from the tool bar.

Image

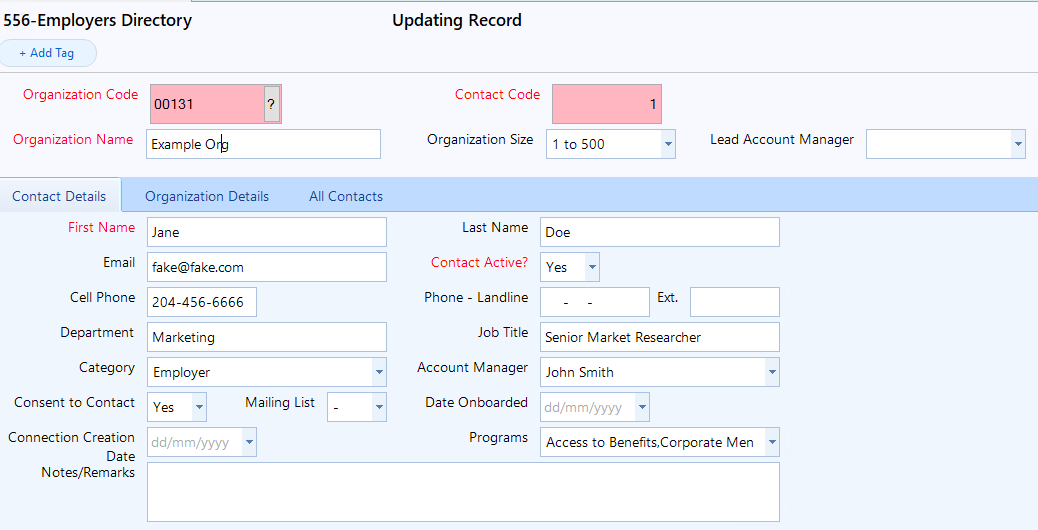
Step 4: Now you can start updating the fields information.
Image

Step 5: Once all changes have been made, click on the "Save" button located at the bottom of the window.

Image

Adding a New Contact to the Organization

The "Add New Contact to the Organization" button allows you to create another contact point in the organization. To create a new contact:

Step 1: Click on the "Add New Contact to this Organization" button located at the bottom left of the window.

Image

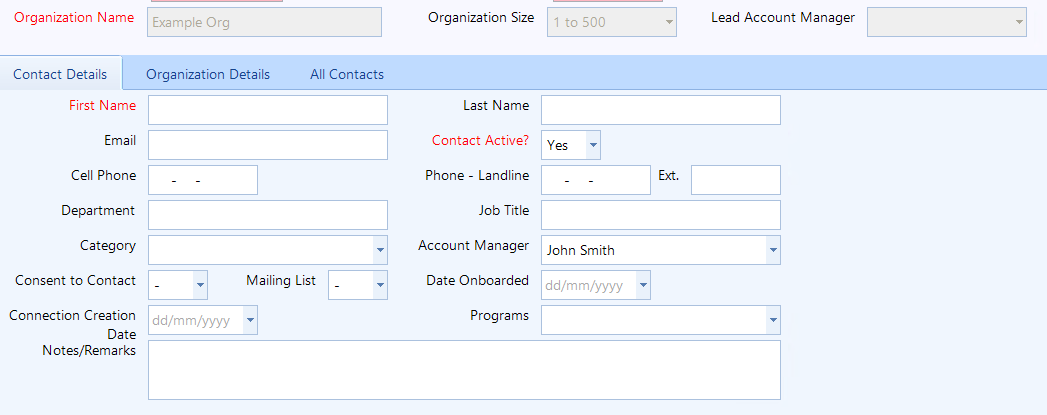
Step 2: Once clicked, you can start entering all the necessary information for the new contact. Please Note: You will not be able to input or change any information related to the company/organization details.
Image

Step 3: Once all changes have been made, click on the "Save" button located at the bottom of the window.

Image

Step 4: The newly added contact will appear under "All Contacts" Tab.

Image

Merging Contacts 

If you find duplicate contacts, you can merge them into a single contact record. To merge contacts:

Step 1: Click on the "All Contacts" tab and then click on the merge button of the contact you would like to merge. 

Image
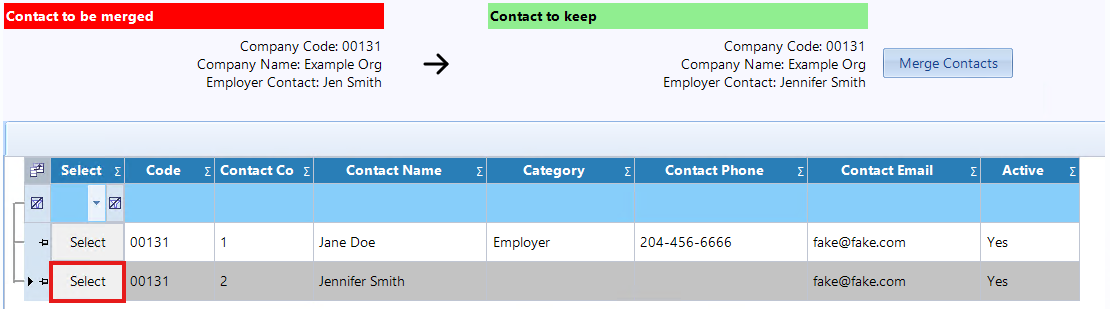
Step 2: After clicking the merge button, a new window will open. In this window, find and select the contact you want to keep by clicking on the "select" button for the contact you wish to choose. You can review the contact to be merged and the contact to keep.
Image
Once you have selected the contact you want to merge into, click on the "Merge Contacts" button
Image
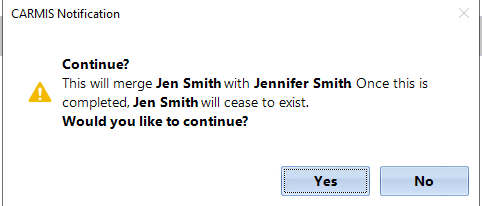
Step 3: Once clicked, CARMIS will prompt you with a pop-up verifying the merge process.
  • Selecting "Yes" will merge the two contacts into one.
  • Selecting "No" will not merge the two contacts and will stop the process.
Image

Split an Employer Contact into a New Company

If an employer contact needs to be moved from an existing company to a new company record, you can use the “Split Employer Contact” action. This will move the contact and all related records, including linked clients, employment records, events, emails, and employer case notes, to the new company. To split an employer contact:
Step 1: Click on the "Split to a new company " button on the contact row you want to split.
Image
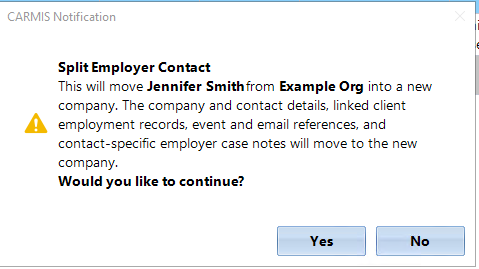
Step 2: Once clicked, CARMIS will prompt you with a pop-up verifying the split process.
  • Selecting "Yes" will split the employer contact.
  • Selecting "No" will not split the employer contact and will stop the process.
Image
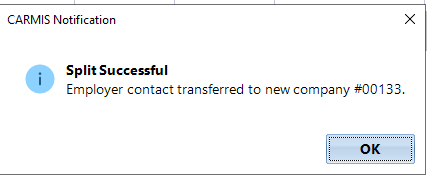
After selecting ‘Yes,’ you will receive a message confirming that the split was successful and that a new company was created.
Image
Step 3:Click the Update button to edit the organization name and the information in the Organization Details tab.
Image

Move a Contact to an Existing Employer

If an employer contact needs to be moved from their current company to another company that already exists in CARMIS, you can use the “Move Contact to Existing Company” action. CARMIS will add the contact to the selected company, assign the next available contact number, and move all linked employment records, events, email references, and contact-specific employer case notes. To move an employer contact to an existing company:
Step 1: Search for the employer contact that you want to move.
Step 2: Once you have found the employer and the contact you want to move, go to the All Contacts tab and click the ‘Move to Existing Company’ button in the contact’s row
Image
Step 3: Once clicked, CARMIS will prompt you with a pop-up asking you to confirm the move.
Image
  • Selecting "Yes" will allow you to select the company you want to move the contact to.
  • Selecting "No" will not move the contact and will stop the process
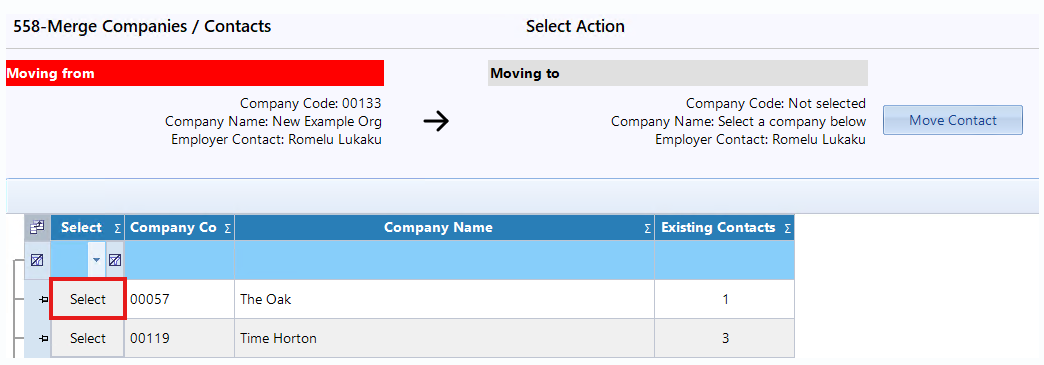
Step 4: After clicking "Yes", a new window will open. In this window, find and select the company you want to move the contact to by clicking the ‘Select’ button for the company you wish to choose. You can review the current company and the destination company at the top of the window.
Image
Step 5: Once you have selected the destination company, click the ‘Move Contact’ button.
Image

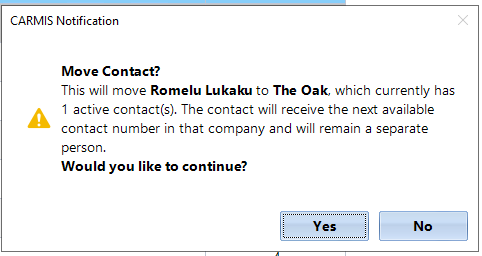
Step 6: Once clicked, CARMIS will prompt you with a pop-up asking you to confirm the move.

  • Selecting "Yes" will move the contact.
  • Selecting "No" will not move the contact and will stop the process.
Image
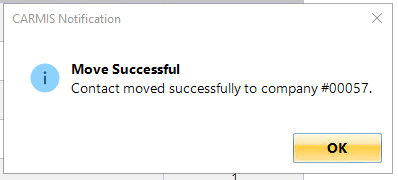
After selecting ‘Yes,’ you will receive a message confirming that the contact was moved successfully.
Image

Merging Organizations

If you have two companies with the same details but different names, you can merge them into a single company/organization with the "Merge this Organization Record" button. To merge the companies:

Step 1: Click on the "Merge this Organization Record" button located at the bottom of the window.

Image
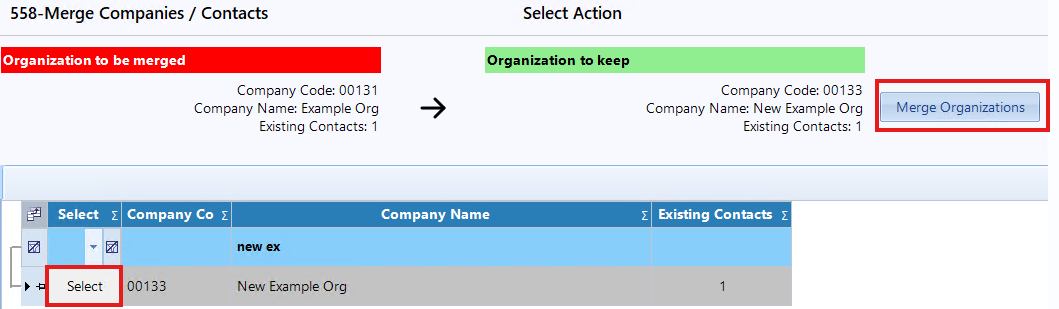
Step 2: Once clicked, a new window will open. In this window, find and select the organization you want to merge with by clicking on the Select button of the company/organization you wish to choose and then clicking on the Merge Organization button.
Image

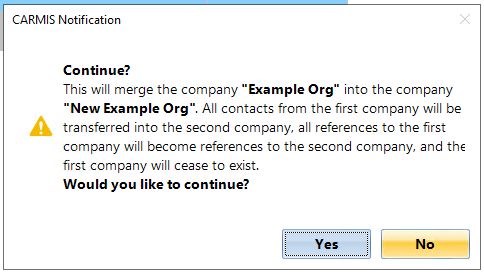
Step 3: When the "Merge" button is clicked, CARMIS will prompt you with a pop-up.

  • Selecting "Yes" will merge all contacts and references from the first company into the second company, and the first company will be deleted.
  • Selecting "No" will not merge the two companies and will stop the process.
Image

Frequently Asked Questions (FAQs)

Q: How can I change the options I see in "Engagement Level" or "Engagement Interest"?
A: Only administrators have the ability to add or modify the options inside those fields by going to: Admin > Masters > Employment > Engagement Level or Engagement Interest. If you would like to make changes to the options inside these fields, please contact your administrator to request these changes.

Q: Can I select multiple Engagement Interests?
A: Yes, the "Engagement Interest" field is a multi-select field, allowing you to select more than one option.

Need Support?

Can't find the answer you're looking for?
Contact Support