This article will show you how to customize an existing event schedule in CARMIS. Please note that sessions become locked to editing once their attendance is marked.
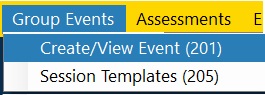
Step 1: To change an existing event schedule, first visit Group Events > Create/View Event (201).
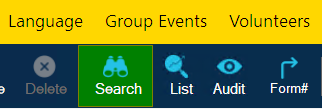
Step 2: Using the 'Search' button from the top menu, find and select the event you would like to update.
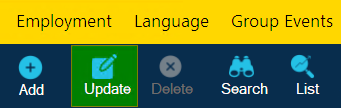
Step 3: Once you've found the event you would like to update, click on the 'Update' button from the toolbar.
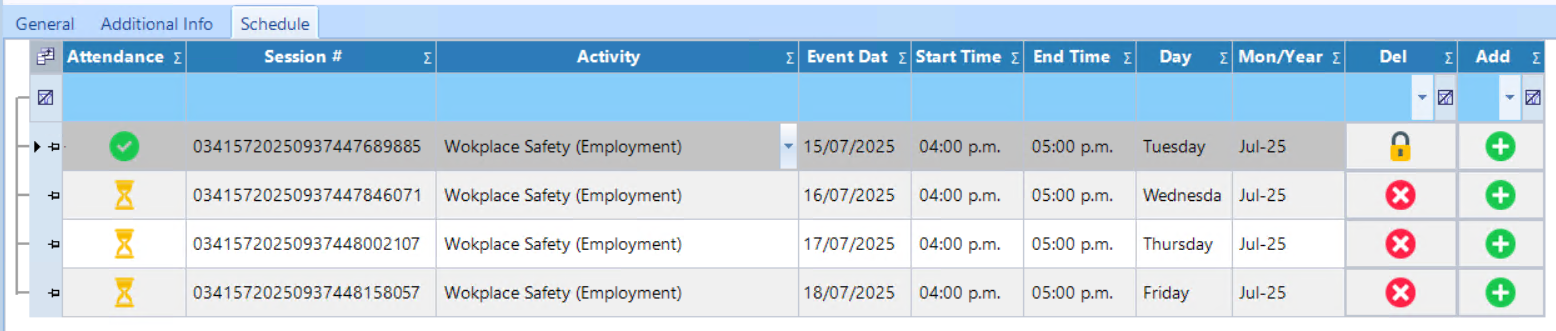
Step 4: Go to the Schedule tab to view the event's schedule. This will display a list of the event's sessions, which you can now edit.

Step 5: Make the desired changes to the schedule.
While in Update Mode you can:
- Edit the Activity, Event Date, Start Time, or End Time of an unmarked session.
- Delete an unmarked session by clicking the X in the Delete column.
- Add a new session by clicking the + button in the Add column.
(Tip) Marked vs Unmarked Sessions
- Sessions become locked to editing once their attendance has been marked. Any marked session will display a checkmark icon.

Step 6: If you would like to save your changes, click Save. Note: If you click cancel, all your changes will be lost.