
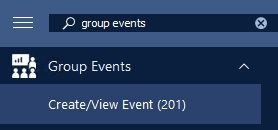
Step 2: Once you are viewing an event on the Create/View Event form, the next step will be to click on "Online Registration Form Settings" at the bottom left.

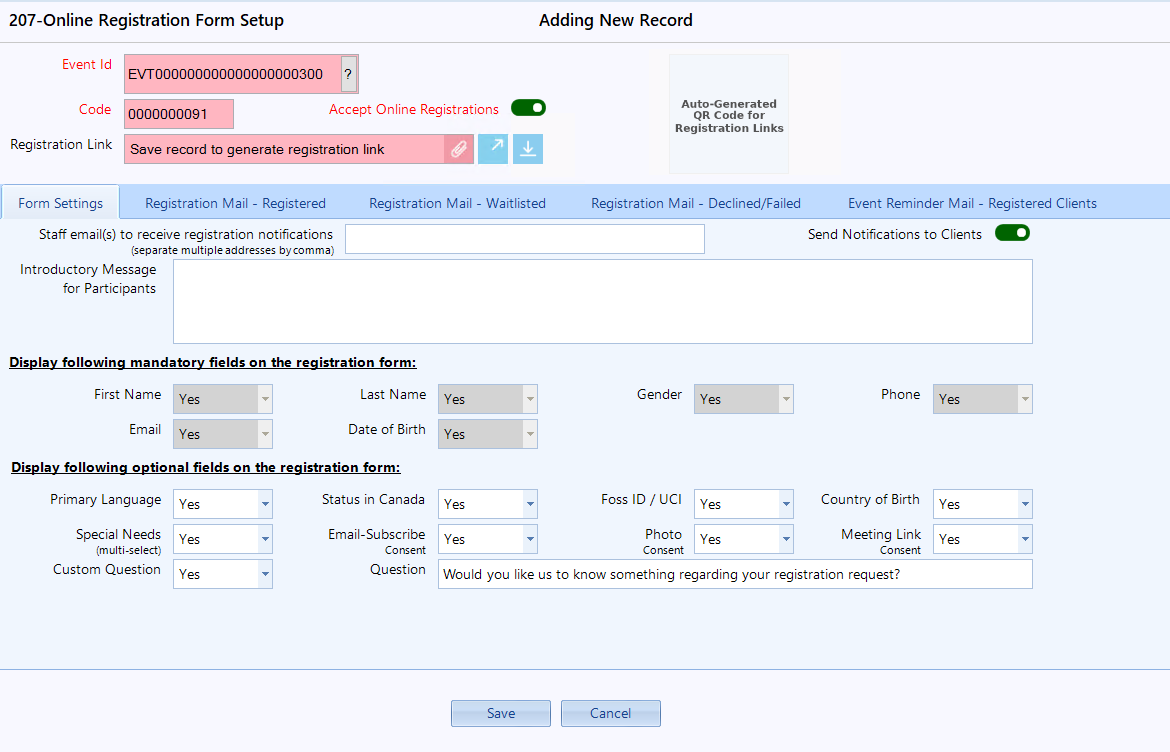
Step 3: Now the Online Form Settings for the event will appear.
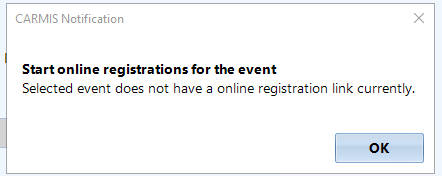
If there is no existing online form, then you should see a "Start online registrations for the event" click on the ok button.
If a form does already exist, then you should proceed to Step 7 (to review the form and update if necessary).
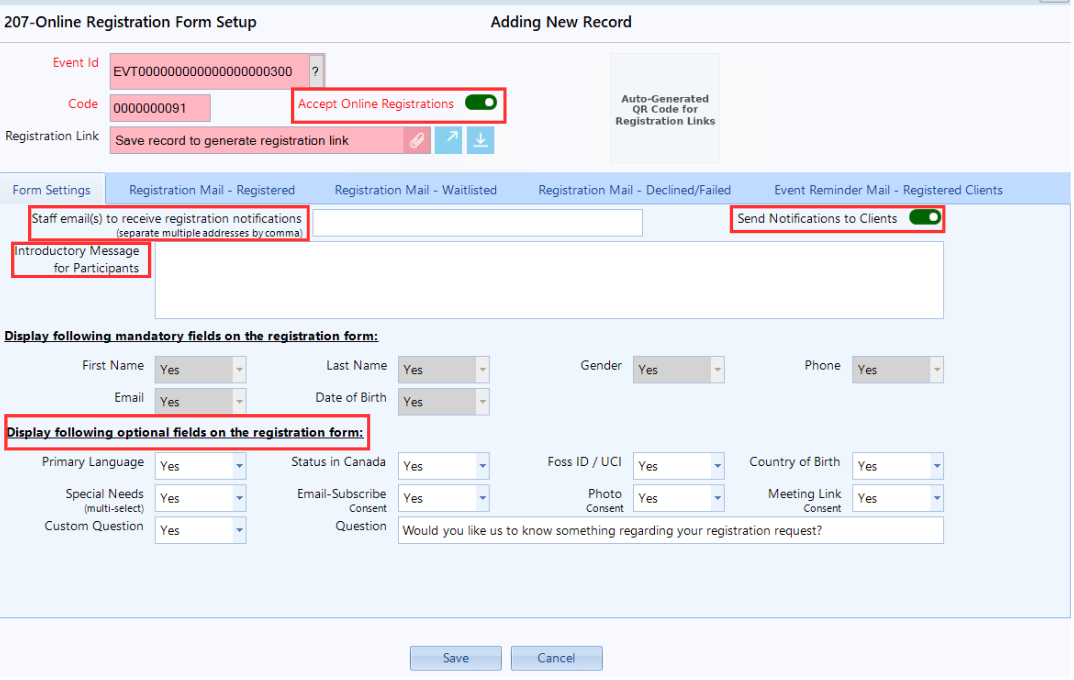
Step 4: Proceed to fill out the form's fields. There are multiple sections:
- Accept Online Registrations: This toggle allows you to manually enable/disable a form (e.g. if you want to enable/disable forms at specific times)
- Staff Email Address Field: These are the staff emails that will be notified when submissions are received for this form. Multiple addresses can be entered if they are separated by commas. For example: example@email.com,example2@email.com
- Send Notifications to Clients: This will toggle whether clients are notified upon their registration being accepted, waitlisted, or declined for an event.
- Introductory Messages for Participants: This will be a section of text at the beginning of the form that might provide information for people considering the event.
- Optional Fields: Here you can specify which questions you would like to ask each registrant. "Yes" will add the question to the form, "No" will remove the question. You also can display one custom question, this will be a free text field.
There will be default values here set as part of your agency's configuration. These defaults can be configured by administrators via Admin > Settings > Setup > Email Templates.
Step 6: Once you are finished with setting values, click Save.
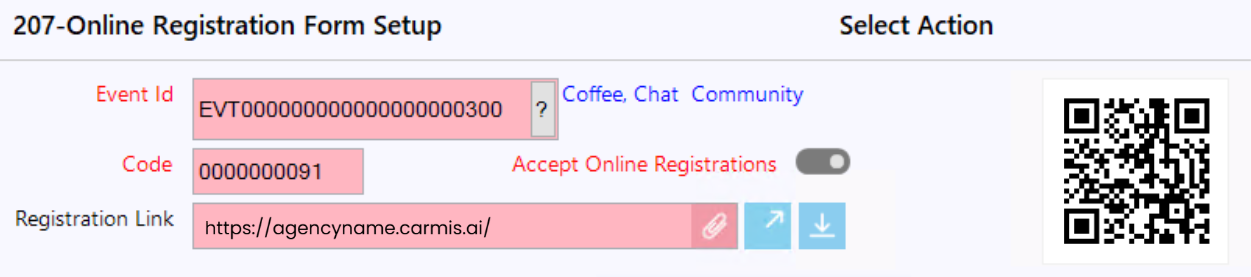
You can review the created form by clicking the View in Browser button. You can also copy the link by clicking the clip icon.
To download the QR code, click the Download button. You can then use the QR code on your posters or other event materials.
Once you have reviewed the form, you can proceed to update the form settings further until you are satisfied with the result.
(For instructions on updating this form, you can return to Step 3 and click "Update").
