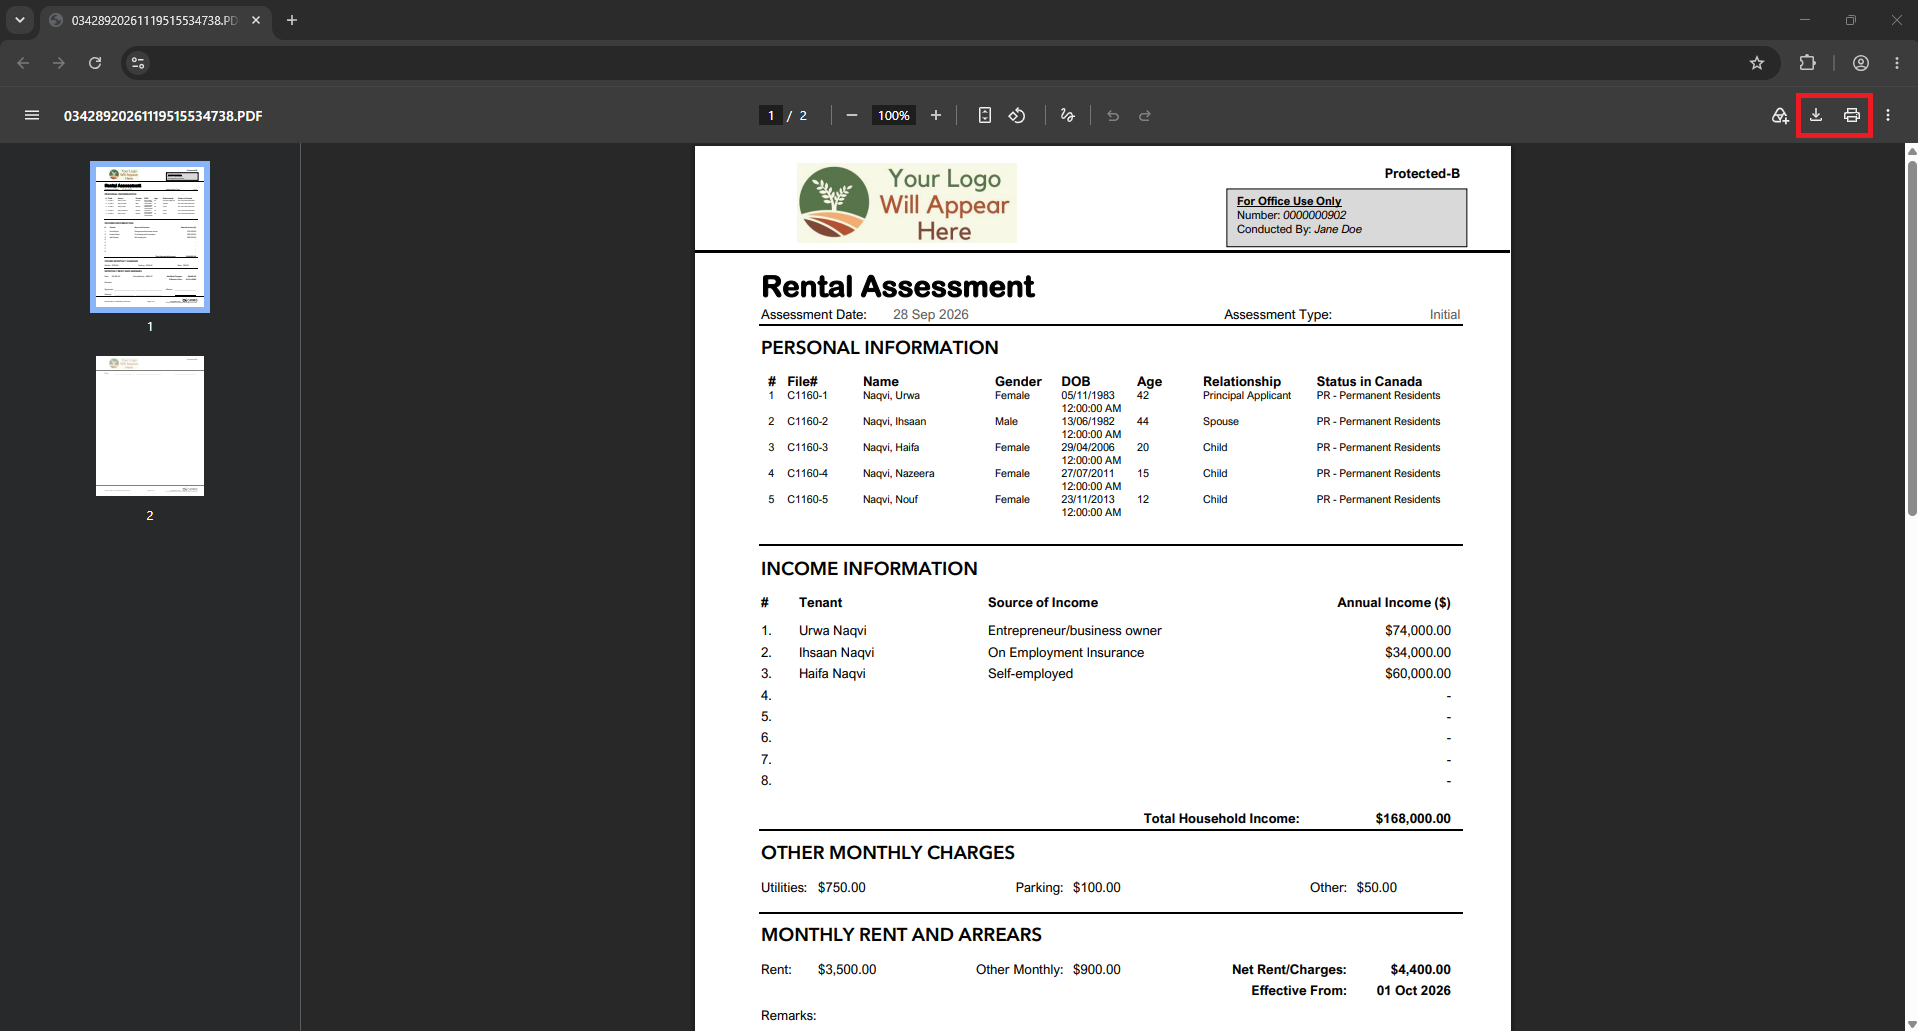

The Rent Assessment form calculates a rent amount based on the tenants' income and automatically applies that rent amount monthly. This guide is only applicable to agencies that make use of rent assessments.
Prerequisites:
- If your agency's workflow does not use rent assessments, this may be unavailable to you.
- A client profile should exist for the client you would like to add a rent assessment for.
- (Our guide on adding client profiles to CARMIS can be found here: How to do a client intake/registration).
Adding a Rent Assessment
Step 1: Find the client you would like to apply the rent assessment to. Using the sidebar on the left side, navigate to Client > Client (Profile) (28)
- You can find the our guide on searching for clients here: How to Search for an Existing Client
- If the client hasn't been added to CARMIS yet, you can find our guide on adding client profiles here: How to do a Client Intake/Registration.
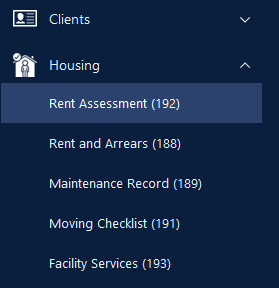
Step 2: Once you are viewing the client's profile, using the sidebar on the left, navigate to Housing > Rent Assessment (192)
Step 3: The Rent Assessment form will open.
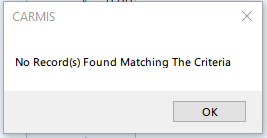
- If this is a new client, you will see a "No Records Found" message. Click OK.
- If the client has past rent assessments, then a popup will appear to allow you to select which assessment to open. Select one of the assessments by double clicking.
Step 4: Using the top toolbar click Add from the toolbar to add a new rent assessment.
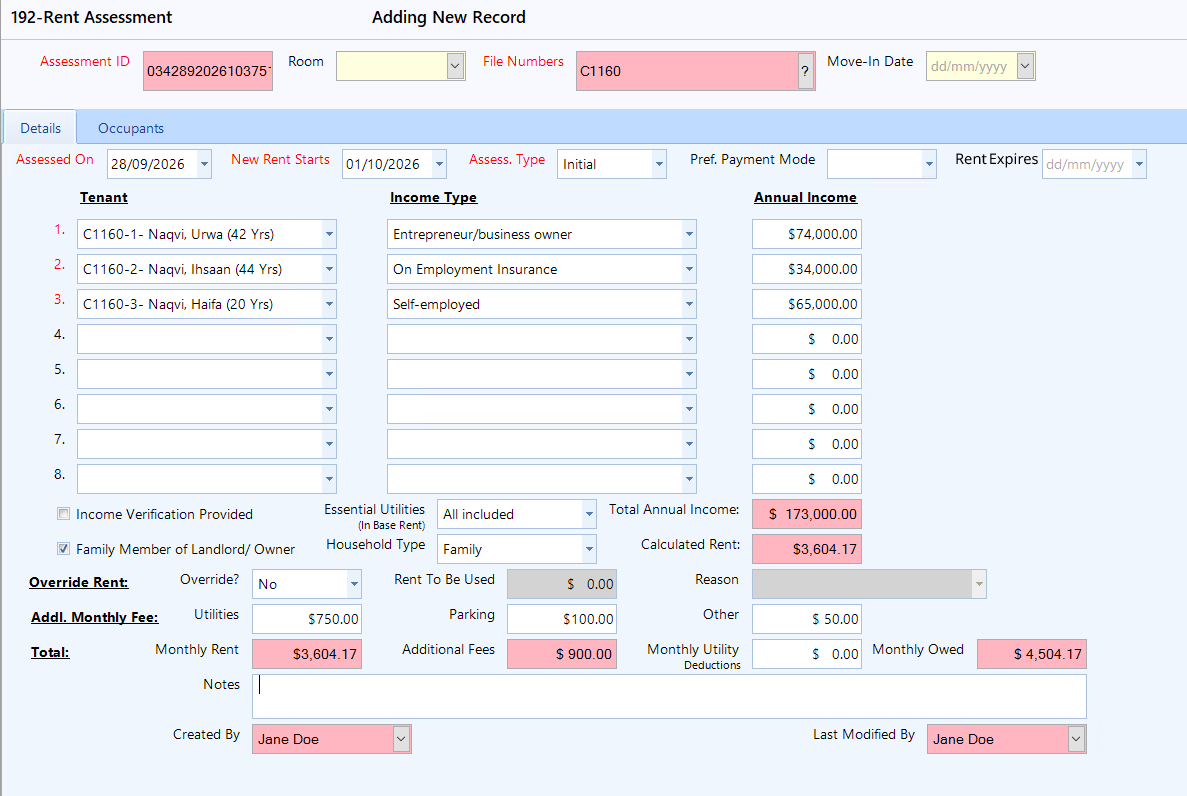
Step 5: The form will now enter Add mode and you can begin entering information about the assessment.
Please note the following fields:
- Assessed On - The date this assessment took place. This is used to calculate the due date of the next annual assessment.
- New Rent Starts- The date that CARMIS will begin applying automatic rent dues (the first month is prorated, and afterwards rent is applied on the first day of each month).
- Assessment Type - Initial/Annual are for big updates and affect the next assessment date. Special is for small updates that will not affect the next annual assessment date.
- If this is the client's first rent assessment, select Initial.
- Tenants/Income - Enter one row per income source. If a tenant has two jobs, then there would be one row per job.
- For administrators: The income options and rent calculation can be set from the Admin > Masters > Employment Status (523) form
Step 6: You can view occupants in the 'Occupants' tab:

Step 7: Once all of the mandatory information has been entered, click Save.
Editing Rent Assessment
Step 1: Using client profile, search for the client whose rent assessment you would like to update. You can find the our guide on searching for clients here: How to Search for an Existing Client
Step 2: From the left side bar, navigate to Housing > Rent Assessment (192)
Step 3: Once clicked, the clients rent assessment will open pre-filled with the latest assessment showing. To view more assessments for the client, click on the 'List' button on the top toolbar.
Step 4: Once you have your assessment, from the top toolbar, click 'Update'. Then make your desired changes.

Step 5: When you are done making your changes, click the 'Save' button.
Printing Rent Assessment
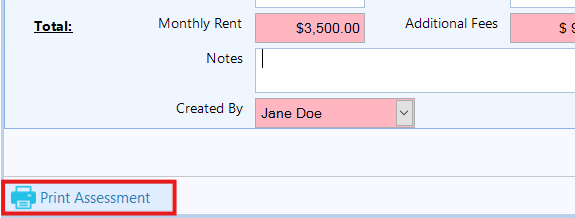
Step 1: Once you have rent assessment ready to be downloaded and printed, using the bottom toolstrip, click on 'Print Assessment'
Step 2: Once clicked, a downloadable/printable PDF document will open in your default browser. Below is an example on Google Chrome browser.