
How To Add A New Activity
Step 2: From the tool bar, click on the 'Add' button to enter add mode.
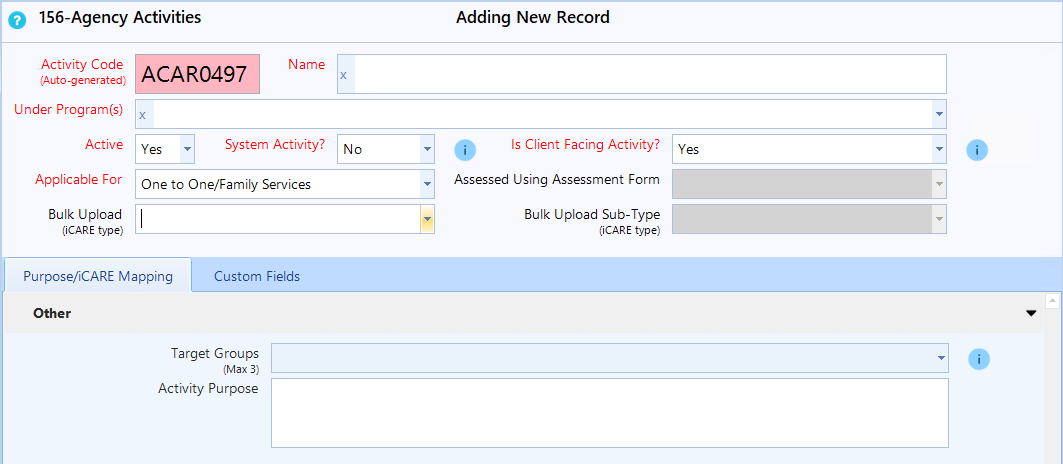
- Name - Enter the name of the activity.
- Under Program(s) - Select one or more programs for the activity.
- Active - Set the active field to 'Yes'.
- System Activity? – Set the System Activity to ‘No’. “System activities are used automatically by CARMIS in response to specific user actions. They are not available for manual selection when recording a new case note, group event, or similar entry.”
- Is Client Facing Activity? – Set the Is Client Facing Activity to ‘Yes’. “Most activities within a program are treated as client-facing services. If an activity is marked as ‘Not a Client-Facing Service’, then it will be excluded from dashboards, summary reports, and funder reports.”
- Applicable For - Using the drop down, select who this activity is applicable for.
- Assessed Using Assessment Form - Choose which form this activity is against. If you select 'Assessment' from the dropdown, the field 'Against Assessment Form' will toggle. You can select which form
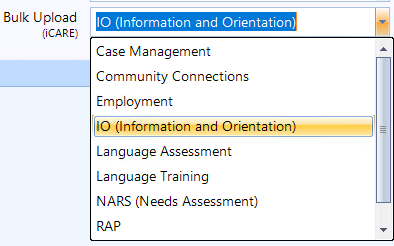
- Bulk Upload - Select one bulk upload option, in doing so, will enable the field in the Purpose/iCARE Mapping tab below.
- Bulk Upload Sub-Type - Select one specific bulk upload sub-type option, in doing so, will show you on which specific Bulk Upload the activity shall be submitted to IRCC.
Purpose/iCARE Mapping Tab
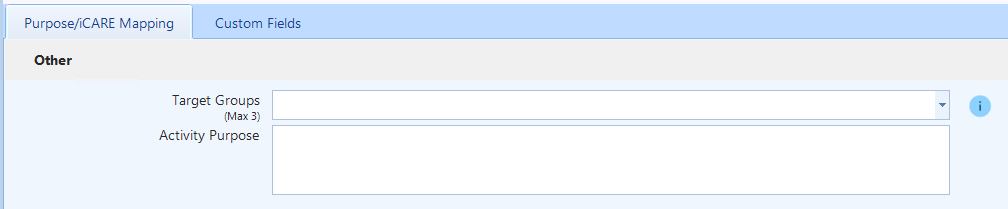
- Target Groups for iCARE - Select the target groups using the checkmarks in the dropdown. The list matches the groups as defined by iCARE.
- Activity Purpose - Please enter the activities purpose.
Define iCARE Mapping
Step 3: iCARE Mapping - Go to the tab below, and define the iCARE mappings for the selected Bulk Upload. Note that the fields on each Bulk Upload selected will vary according to iCARE requirements for that module.
- Allowed Service Delivery Formats - The new iCARE defines specific service delivery formats based on module or activity within the module. CARMIS has automated this iCARE requirement. Allowed Service Delivery Formats on each tab is a read-only field. It will show you the allowed options as per iCARE. Your CARMIS users will be limited to select from these options when recording an activity or a session.
Frequently Asked Questions (FAQs)
Q: How can I update activities for a specific program?
A: To view and update for a specific program, please use search function on this form and select "Program" as the program you would like to search, "Active" as Yes. CARMIS will now show you all activities for the program that are currently active. You can now use the "List" feature to go to an appropriate activity to update.
Q: Can I quickly see all activities and their iCARE mappings?
A: To view all activities and their details, such as iCARE Mappings; please use the report #935 List of Activities (iCARE Mappings). This report is available under Reports > Activities and Program.