
Adding A New Course
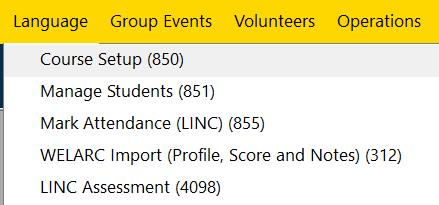
Step 1: Using the top navigation menu, navigate to Language > Course Setup (850) form.
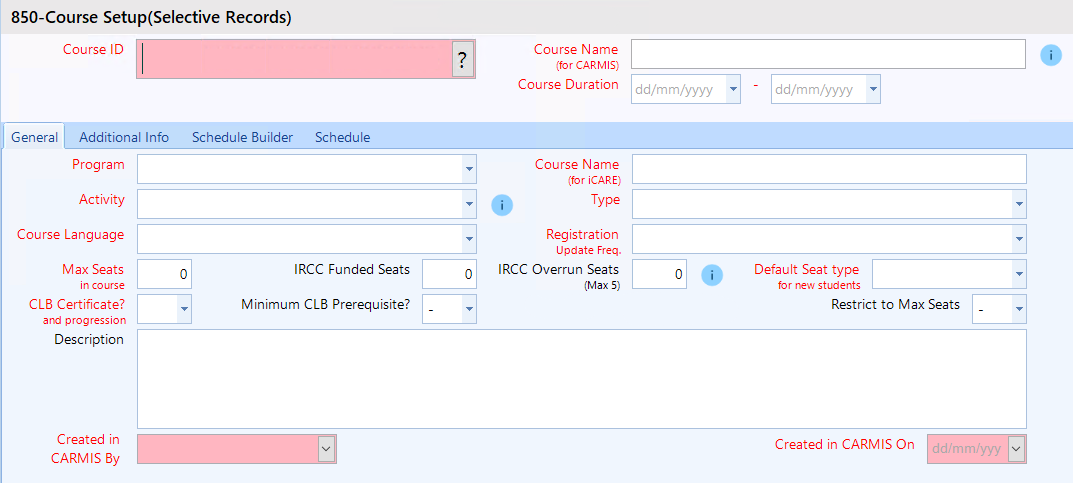
This will open the Course Setup form shown below.
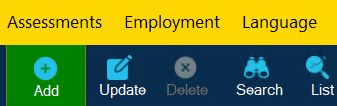
Step 2: Click on the 'Add' button in the top toolbar.
Step 3: In 'Add' mode, begin by entering the 'Course Name'. As you type, the 'Course Name (iCARE)' field will update automatically. Note: The iCARE course name includes a unique key identifier to prevent duplicates.

In the 'Course Duration' field, select the dates for when the course will start and when it will end.
Step 4: Enter the required information.
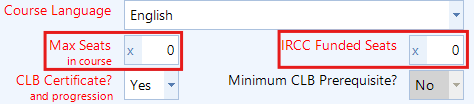
Note: When specifying 'Max Seats' and 'IRCC Funded Seats', ensure that the IRCC Funded Seats are subtracted from the Max Seats and do not exceed the Max Seats value.
If you would like to exceed the IRCC's limit for LINC courses, in the field 'IRCC Overrun Seats', enter the number of seats you would like to allow for over-registration. Please note: You must obtain approval from your IRCC officer before adding overrun seats.
Using the 'Default Seat type' field, you can assign which seat will be used as the default. You can choose either IRCC seats as the default or Non-IRCC seats.

Step 5: Enter the required information in the 'Additional Tab'. Note: When selecting an 'Organizing Office' or 'Point of Contact', some fields will auto-populate.

Step 6: Navigate to the 'Schedule Builder' tab. In the 'Service Delivery' drop-down field, select how this course will be delivered to the students.
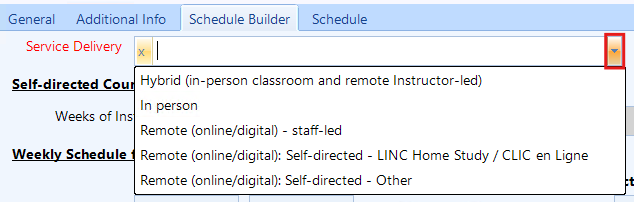
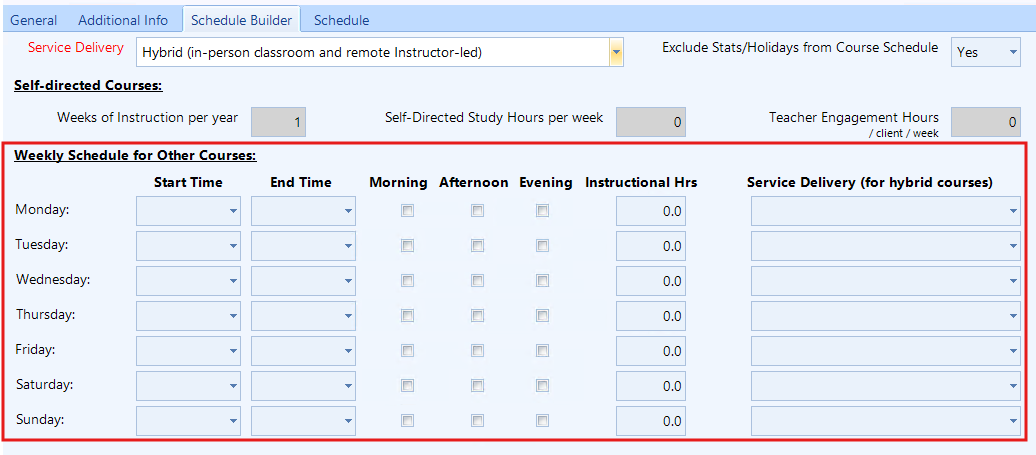
Depending on the selection of the 'Service Delivery', some fields will become locked, an example below:
To include holidays in the schedule, select 'Yes' in the 'Include Holidays' field. Note: This is only applicable for these service deliveries: Hybrid, In-Person and Remote (online/digital) - staff-led
Enter the weekly timing schedule for the course:
Step 8: Once information has been filled, click on the 'Save' button.
Searching For A Course
Step 1: Using the top navigation menu, navigate to Language > Course Setup (850) form.
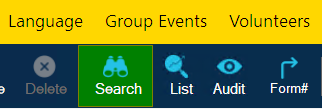
Step 2: Click on the 'Search' button in the top toolbar.
Step 3: You can search for a course by clicking the '?' button to view a list of all courses or by entering the course name in the 'Course Name' field.
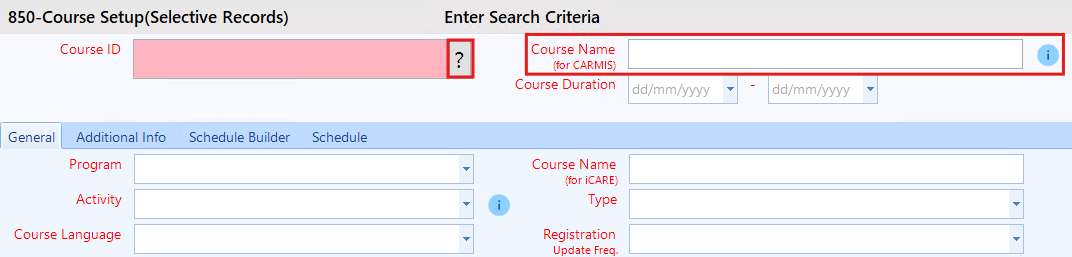
Step 4: Once you have selected a course, click on the 'Search' button located at the bottom.
Updating A Course
Step 1: Using the top navigation menu, navigate to Language > Course Setup (850) form.
Step 2: Click on the 'Search' button in the top toolbar and search for the course you would like to update.
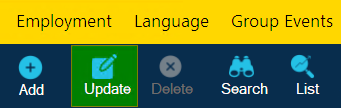
Step 3: Once you have searched for and selected a course, click 'Update' from the toolbar.
Step 4: In update mode, make your desired changes.
Step 5: Once all desired changes are completed, click the 'Save' button.
Deleting A Session
Step 1: Using the top navigation menu, navigate to Language > Course Setup (850) form.
Step 2: Search for the course you would like to delete a session for.
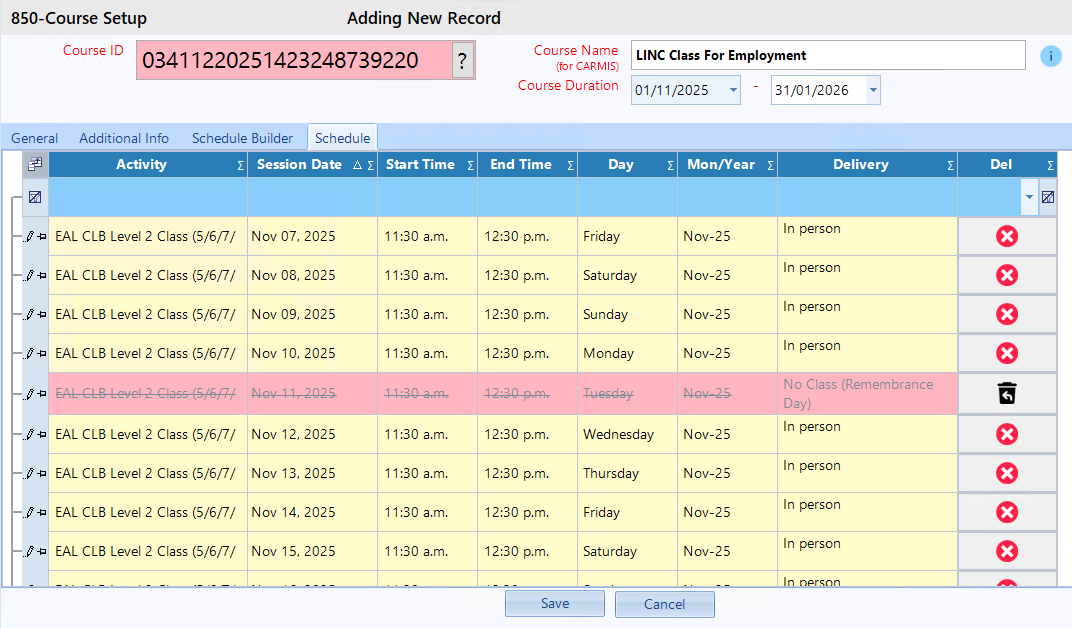
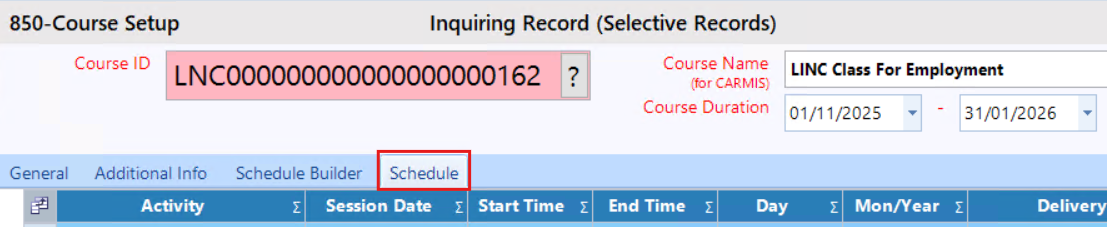
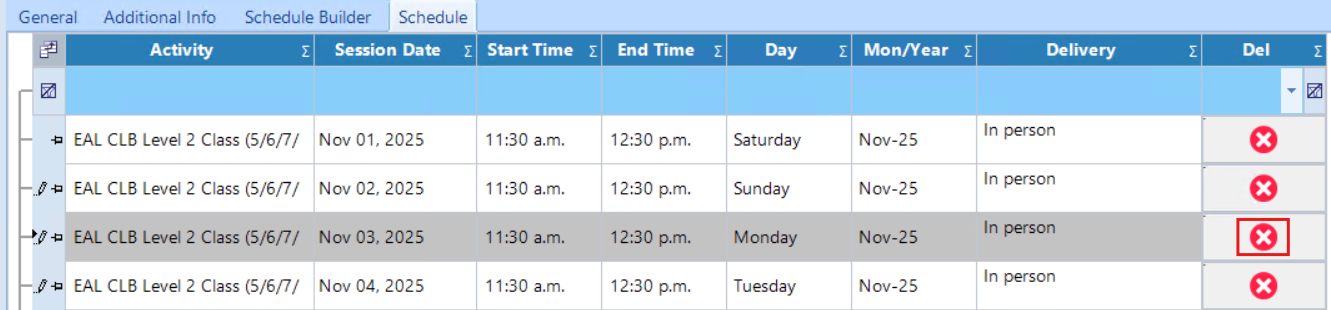
Step 3: Once the course has been selected, navigate to the 'Schedule' tab.
Step 4: Find the session row you would like to delete, click on the rows red delete button.
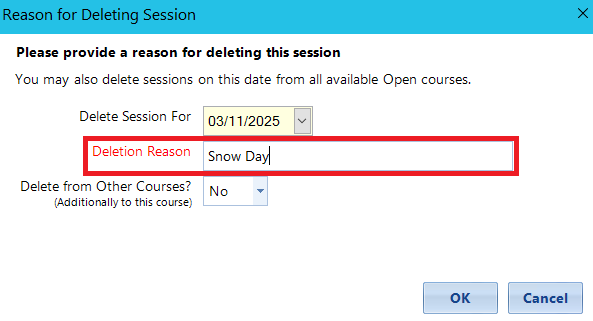
Once the button is clicked a pop will show. Enter the deletion reason (e.g. Snow Day).
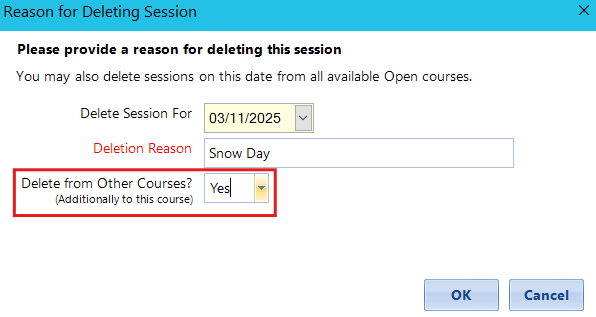
The field 'Delete from Other Courses?' will delete this session date for all other courses on the CARMIS system. For example, If you had a snow day for Nov 3rd for all classes, you can delete their sessions together by toggling this field 'Yes'.
Reopening A Session
Step 1: Using the top navigation menu, navigate to Language > Course Setup (850) form.
Step 2: Search for the course you would like to reopen a session for.
Step 3: Once the course has been selected, navigate to the 'Schedule' tab.
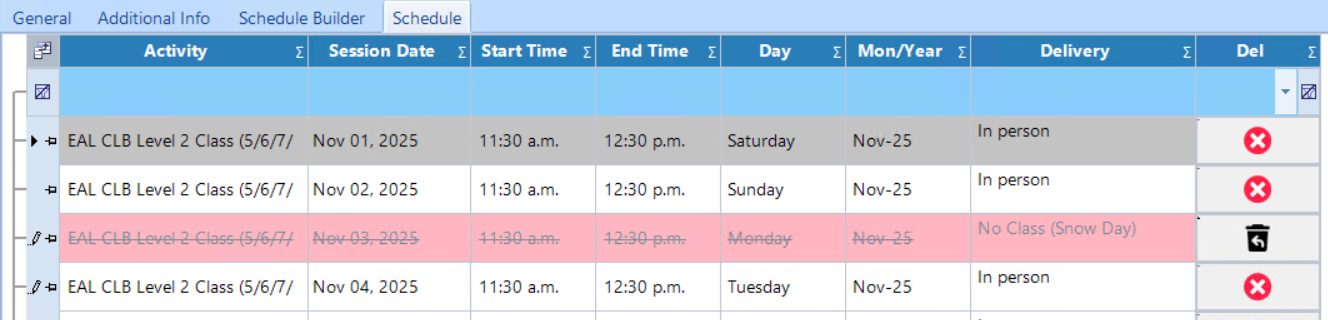
Step 4: Find the session that is closed, click on the black reopen icon.
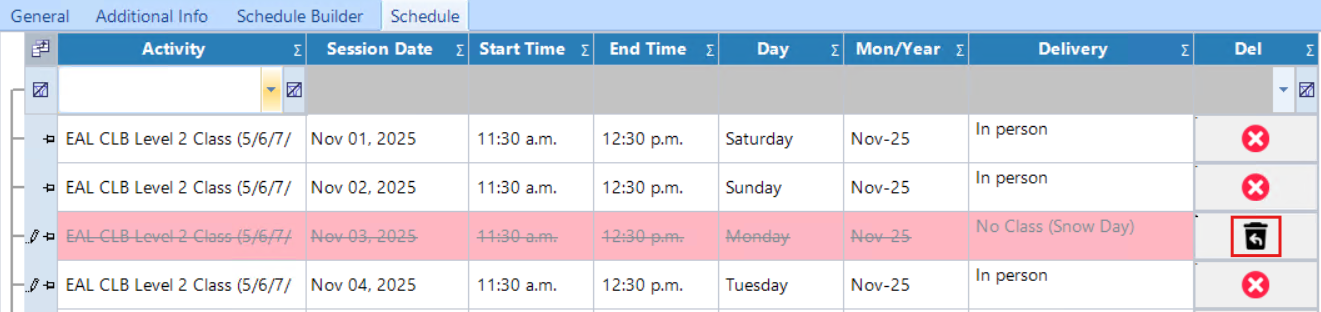
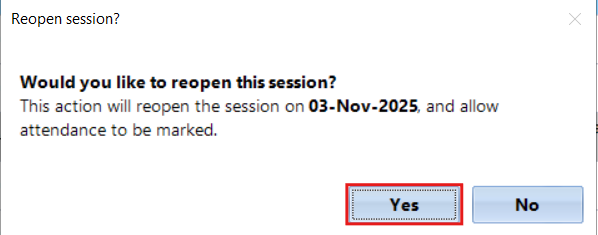
Once the button is clicked a pop will show. This is letting you know that you are reopening this session and allowing attendance to be markable. Click 'Yes' to confirm reopening of session.
Once clicked the session will be open for attendance again.
Deleting A Course
Please note: You cannot delete a course if it has registered students. To delete the course, all enrolled students must be removed from the course. Once the course has no students, you will be able to delete it. To learn more about how to remove students from a course, please see our article: How to edit/exit students from a course
Step 1: Using the top navigation menu, navigate to Language > Course Setup (850) form.
Step 2: Search for the course you would like to delete.
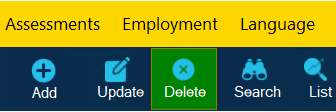
Step 3: Once the course has been selected, click the 'Delete' button located in the toolbar.
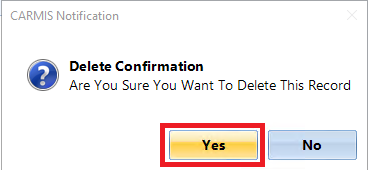
Step 4: CARMIS will ask you to confirm the deletion of this record. Click 'Yes'.
Once confirmed, the course will be deleted from the system.
Course Closure
Step 1: Using the top navigation menu, navigate to Language > Course Setup (850) form.
Step 2: Search for the course you would like to close.
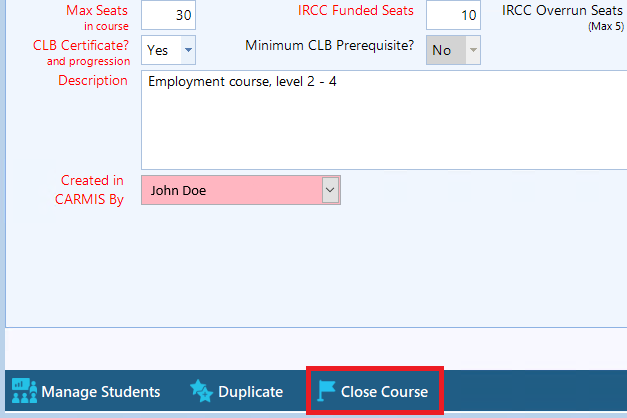
Step 3: Once the course has been selected, on the bottom tool strip, click the 'Close Course' button.
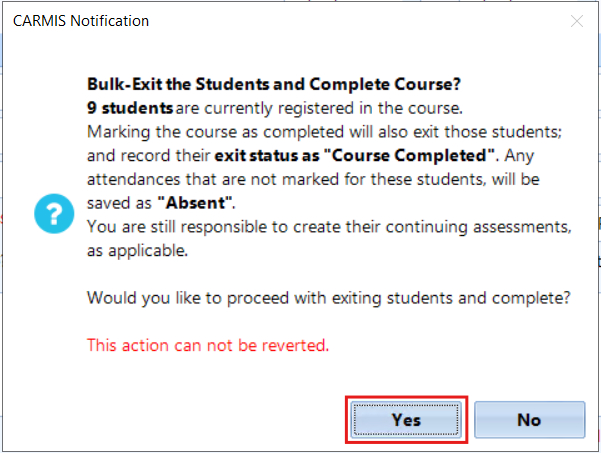
Step 4: Once clicked a pop-up will appear, this notification is letting you know that you are going to close the course, it will bulk exit the registered students and record their exit status as "Course Completed". For any missing attendance, it will be marked as "Absent". Click 'Yes' to proceed.
Once clicked the course will be marked as completed, an indicator can be found on the top of the form, it will include the completion date.

'Duplicate' Button: Clicking the 'Duplicate' button creates a new copy of the selected course. This is useful when you want to reuse the same course structure in a new term or year.
Step 1: Search for and select the course you would like to duplicate.
Step 2: Once you have selected a course, click on the 'Duplicate' button.

The duplicated course will open in edit mode. Update the course name and make any necessary changes
Step 4: Once all changes have been made, click on the 'Save' button.
Register Students Button
Frequently Asked Questions (FAQ)
Q: I am trying to update a closed course, but I am unable to?
A: If a course has been closed then you will be unable to make any changes to that course.