
Note: Currently CARMIS supports only Microsoft 365 for businesses and non-profits accounts.
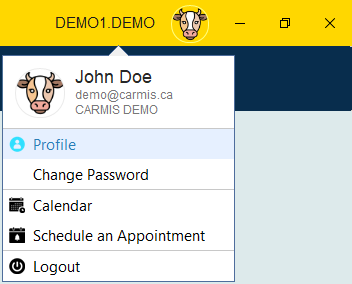
Step 1: Click on your username at the top-right of the screen and navigate to Profile.
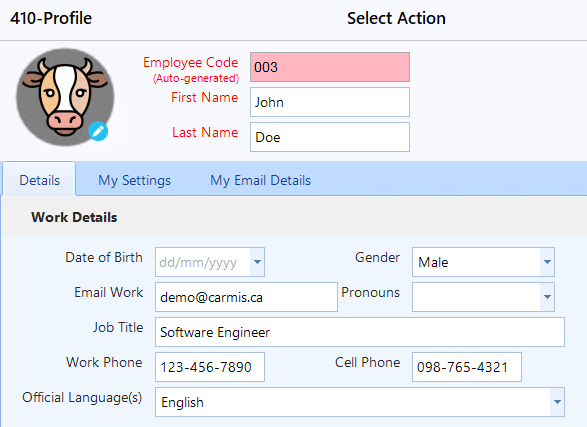
This will open the profile form shown below.
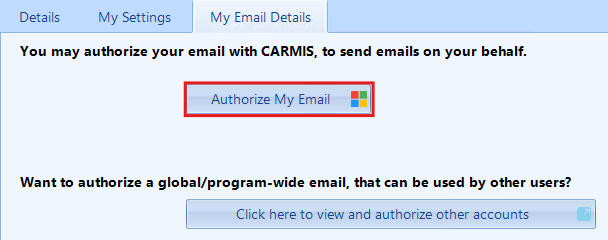
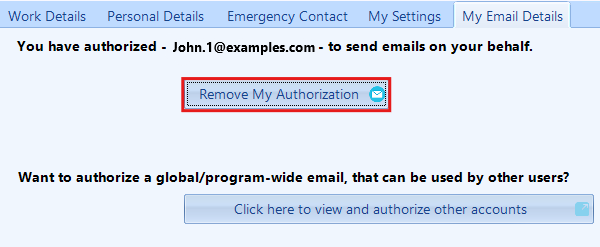
Step 2: Click on 'My Email Details' tab.
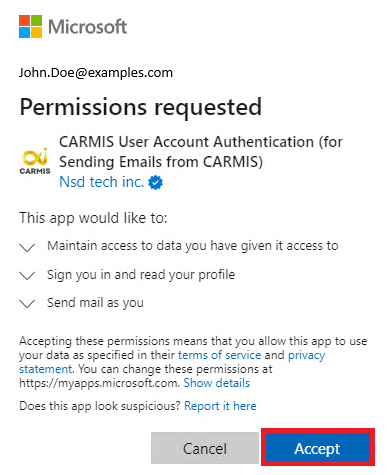
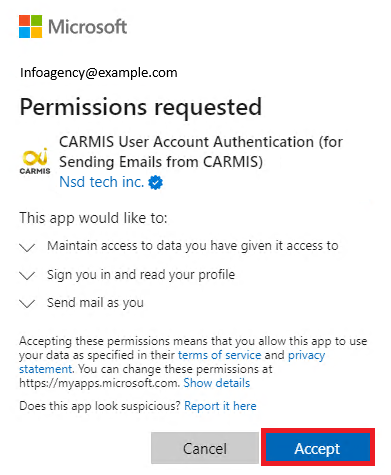
Step 4: Once clicked, enter your email and password for your email account. Microsoft will prompt you a confirmation to authorize CARMIS to use your email to send emails to clients. Click on the 'Accept' button to authorize your account to CARMIS.
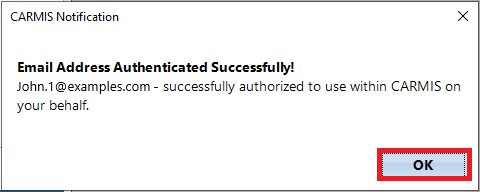
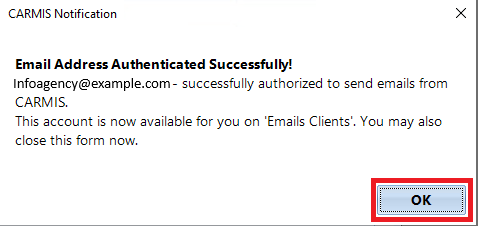
Step 5: Once authorization has been accepted, CARMIS will show you a confirmation window letting you know that your email has been authorized.
How to remove Authorization (Staff centered)
Step 1: Click on 'My Account' located at the top-right of the screen and navigate to Profile.
Step 2: Navigate to 'My Email Details' tab.
Step 4: Once clicked CARMIS will prompt you with a confirmation window, click on 'Yes'.
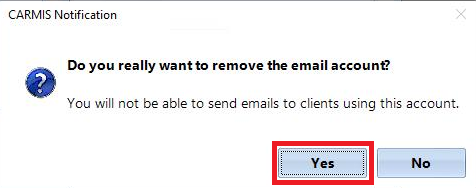
After clicking 'Yes' your email will removed from sending emails to clients from CARMIS.
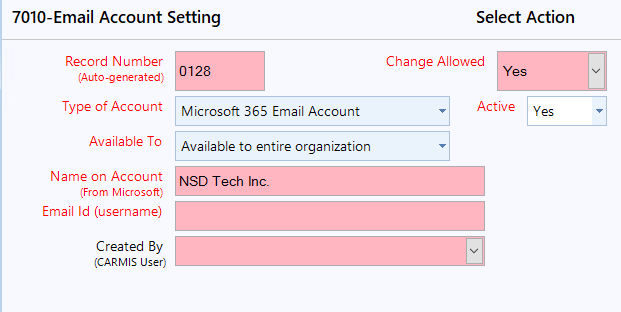
Step 1: Using the sidebar, search for 'Email Account Settings (7010)'.
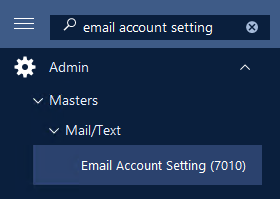
This will open the Email Account Setting window shown below.
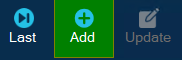
Step 2: Click 'Add' from the toolbar to add a new email.
Step 3: Once clicked, choose who the email will be available to from the Available To field.
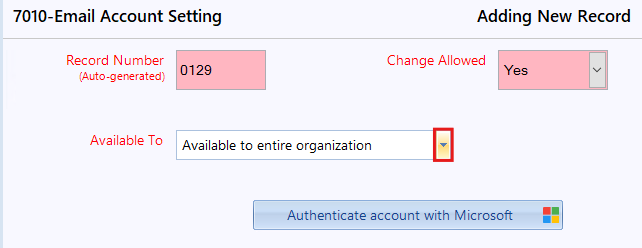
-
Choosing Available to Entire Organization will make the attached email available for anyone in the organization to use.
-
Choosing Available to Program Users allows you to limit access to specific programs. Only users with access to those programs will be able to use the authorized email.
Step 4: Once you have selected who this email will available to, click 'Authenticate account with Microsoft'.
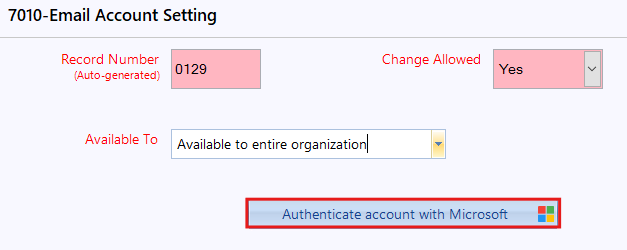
Step 5: Once clicked, enter your email and password for your email account. Microsoft will prompt you a confirmation to authorize CARMIS to use your email to send emails to clients. Click on the 'Accept' button to authorize your account to CARMIS.
Step 6: Once authorization has been accepted, CARMIS will show you a confirmation window letting you know that your email has been authorized.
How to remove Authorization (Agency centered - Admin only)
Step 1: Using the sidebar, search for 'Email Account Settings (7010)'.
Step 2: Click 'List' from the toolbar and select the email address you would like to remove.

Step 3: Once you have selected the email account, click on the 'Update' button from the toolbar.

Step 4: Under 'Active', select the 'No' option.
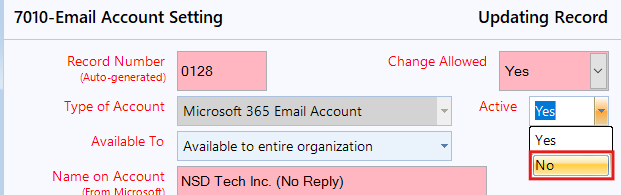
After selecting "No," click the "Save" button. This will prevent the selected email from being available in Email Clients.