
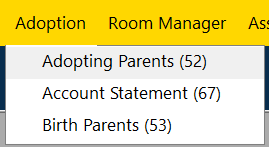
New Adopting Parent:
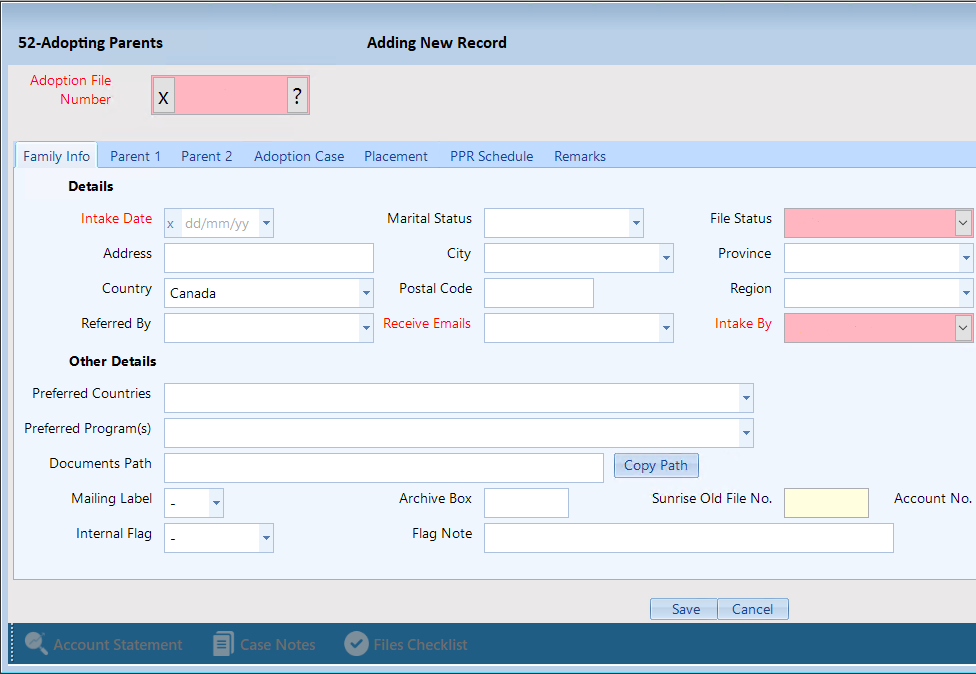
Step 4: Enter information in the following tabs: Please Note: You can fill out the form at different times. You don’t have to finish it in one go. Just save it and come back to add more information later.
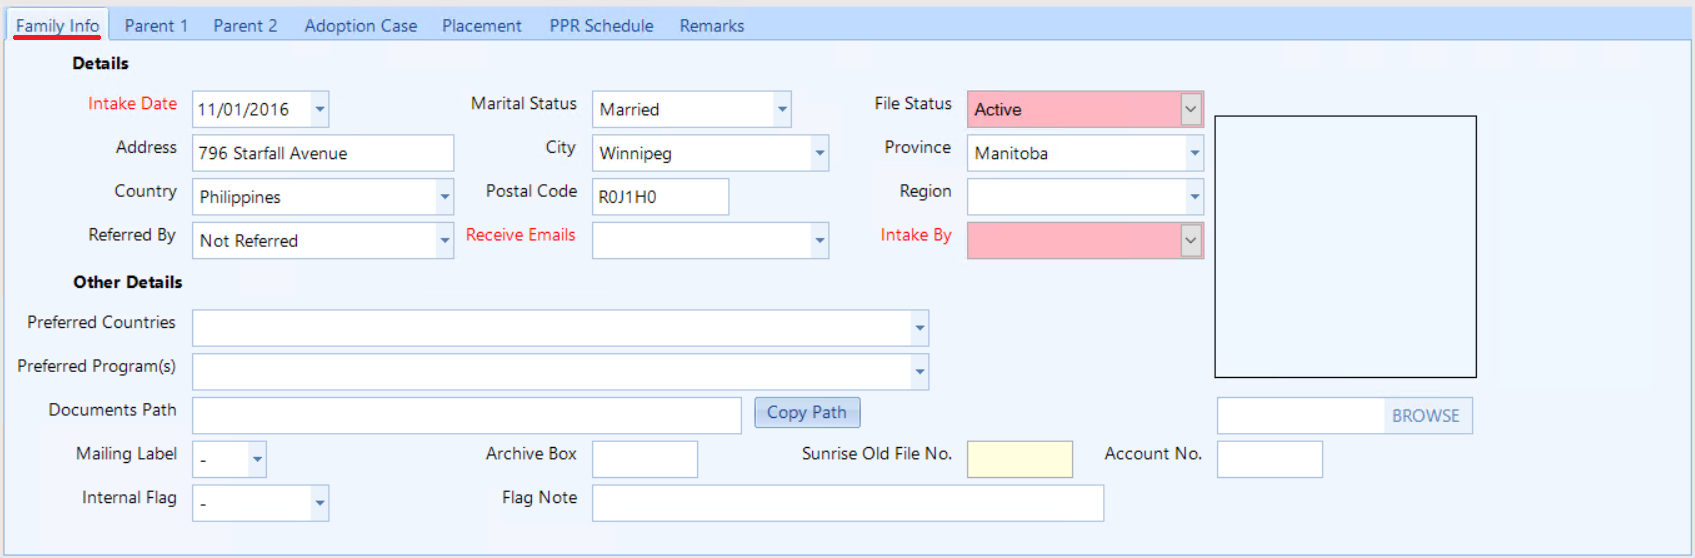
- Family Info is the information needed to create an adoption file for the family.
- Parent 1 is the information required from parent 1.
- Parent 2 is the information required from parent 2.
- Adoption Case is the information about details of the adoption case.
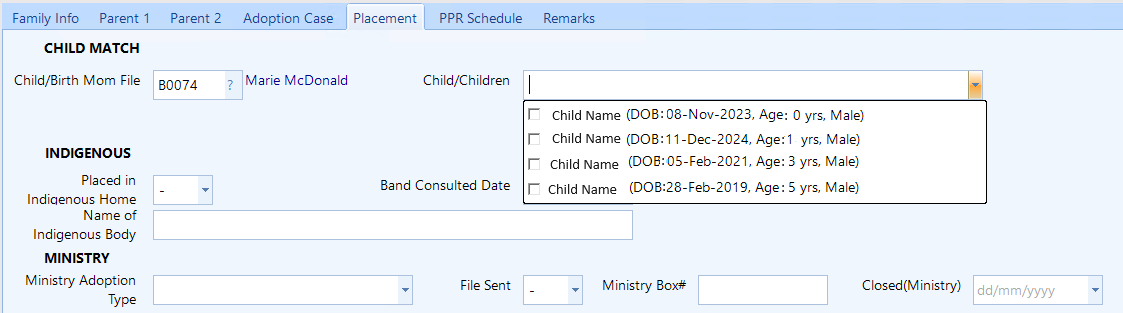
- Placement is the information regarding the placement.
- PPR Schedule is the information about schedule for the Post Placement Report (PPR).
- Remarks is any additional remarks or notes.

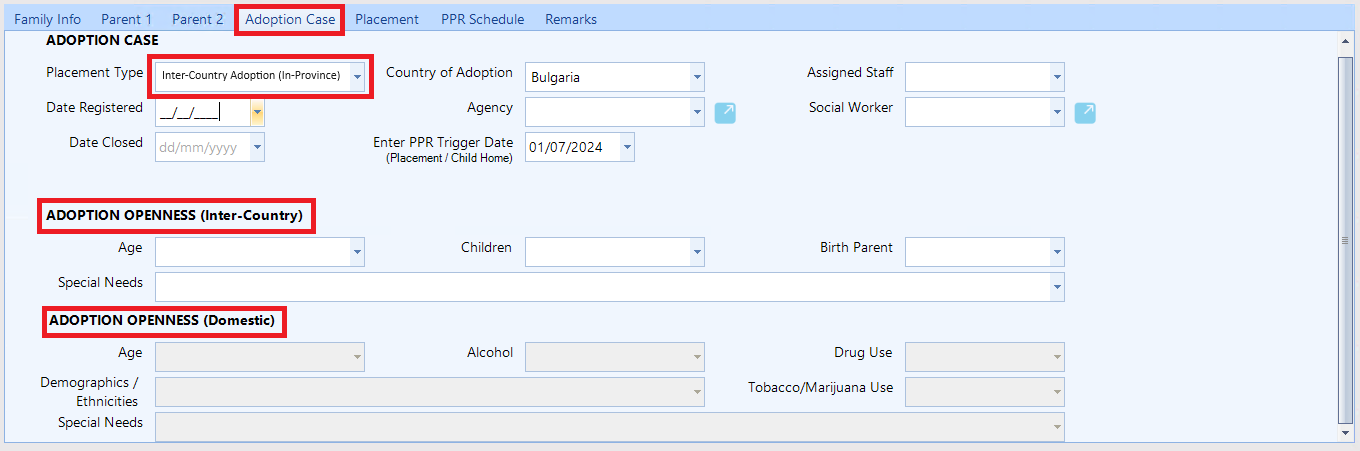
Adoption Case:
There are two sections based on Placement Type: fill out the relevant fields in these sections depending on the Placement Type you select.
- Placement Type: refers to the specific way in which a child is placed into a new home.
- Adoption Openness (Inter-Country): is the level of openness of child profiles, expressed by the adopting parents (example: age range, or ethnicities of the child). This section (Inter-Country) is relevant for international adoption cases.
- Adoption Openness (Domestic): is the level of openness of child profiles, expressed by the adopting parents (example: age range, or ethnicities of the child). This section (Domestic) is relevant for within-Canada adoption cases.
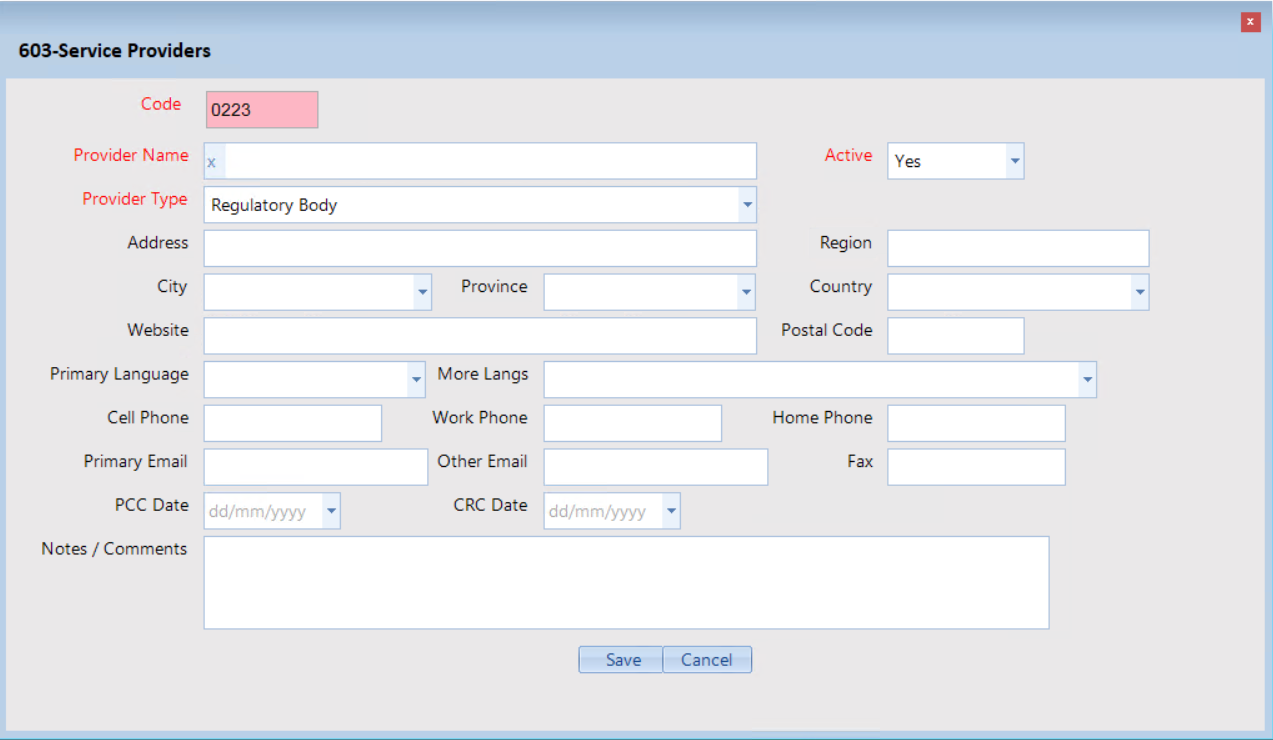
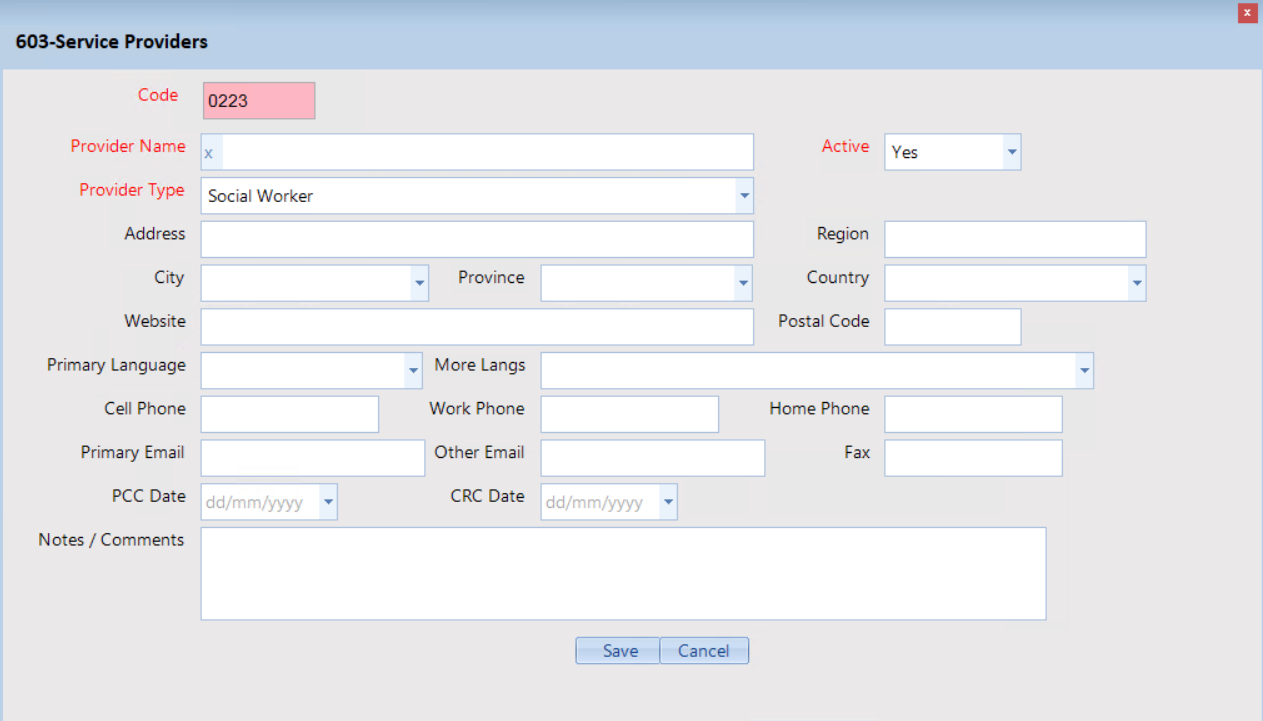
Agency (regulatory body/organization in the Country/Province of Adoption):
Adopting Parent Profile form of CARMIS allows you to easily add a new agency / regulatory body.
Step 3: Save your changes.
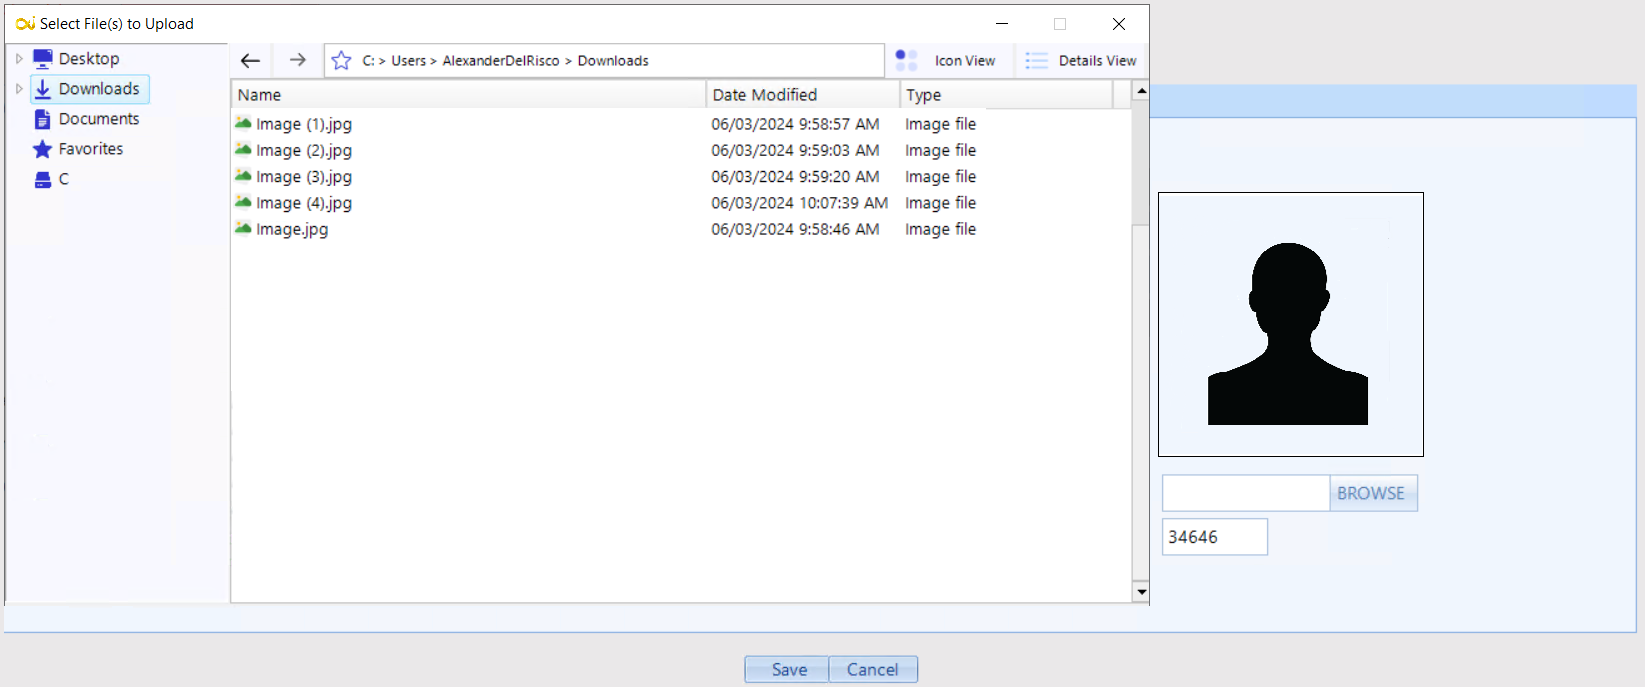
Child/Birth Mom File: This field includes a question mark button. Clicking it helps enter the mom's file number. This will then show which child or children are available for adoption in the dropdown list of the child/children field.
PPR Schedule:
It is a plan for when to send updates about how a child is doing after they’ve been adopted and placed with their new family.
- Due: These fields automatically fill in based on the information you enter in the "Country of Adoption" and "Enter PPR Trigger Date" fields on the Adoption Case tab.
- Written: This field shows the date when the Post Placement Report (PPR) was completed.
- Filed: This field shows the date when the Post Placement Report (PPR) was officially submitted to the relevant authority.

Once all the information has been completed and submitted, a new adopting parent file will be generated. This file will be created with the details provided, ensuring that all relevant information is properly recorded and available for future reference.
Frequently Asked Questions (FAQ)
Q: Can I set the due dates for the Post Placement Report (PPR) myself?
A: Yes, even though the system automatically sets these dates, you can manually enter them if there are exceptions.
Q: How do I know which fields are mandatory?
A:Mandatory fields are indicated with red labels. You must complete these fields to save your information.
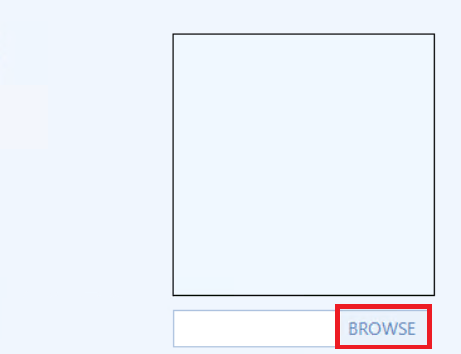
Q: What kinds of images can I use for the photo, and what formats are acceptable?
A: You can use the following types of image files for the photo: "jpg," "jpeg," "gif," and "png".
Q: Will I lose the information I’ve entered if I close the form without saving or click "Cancel"?
A: Yes, if you close the form without saving or click "Cancel," you will lose the information you entered. Be sure to click "Save" to keep your changes.
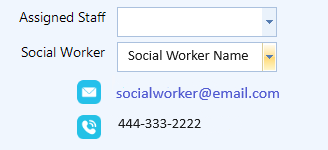
Q: What happens if I choose a provider type other than "Regulatory Body" or "Social Worker"?
A: Choosing a provider type other than "Regulatory Body" or "Social Worker" will prevent the information from appearing in the "Agency" or "Social Worker" drop-down lists.
Social Worker field:
Adopting Parent Profile form of CARMIS allows you to easily add a new social worker to the database.