
- An existing group event. For steps on creating a group event, please see How to create a group event.
- Online registration enabled for the event. For steps on configuring online registration settings, please see How to apply online registration settings.
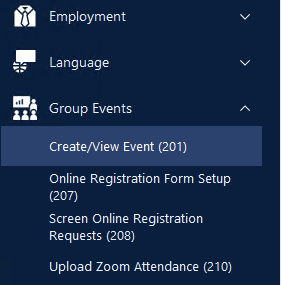
Screen clients registration requests
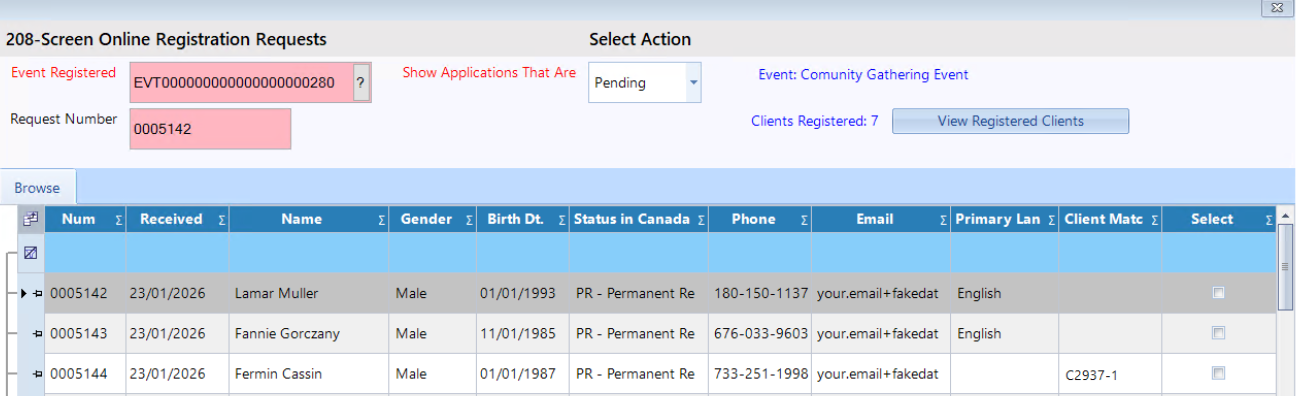
Step 3: Now the screening form for the event will appear.
If there is no clients request yet, then you should see a "No Record Exists" message followed by a blank grid:
Note:
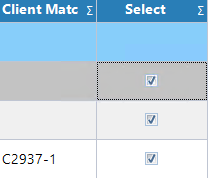
If CARMIS finds a matching client in the system, the client’s file number will appear in the Client Match column .
- If no match is found:
When you accept the client, CARMIS will automatically create a new client profile.
- If a match is found:
CARMIS will register the existing client for the event based on the action you choose.
Step 4: In the grid, check the box under the Select column (last column) for the participants you want to accept.
Option 1: Accept the clients
Click Accept Selected.
If email notifications for Accepted status are enabled in the registration settings, an acceptance email will be sent automatically.
Option 2: Waitlist the clients
Click Waitlist Selected.
If email notifications for Waitlisted status are enabled, a waitlist email will be sent automatically.
Option 3: Decline the clients
Click Decline Selected.
If email notifications for Declined status are enabled, a decline email will be sent automatically.
Note: Emails are only sent for statuses that have notification emails enabled in your event’s registration settings.
How to view registered clients
To view the clients registered for the event, click View Registered Clients at the top of the form. A list of registered clients will appear, each with a checkbox.
To unregister a client, simply uncheck their box.

How to search/view waitlisted clients
To view clients who were waitlisted or declined, click Search, select the event, and then choose Waitlisted or Declined in the Show Applications That Are field.
