
Edit Student Information
Step 1: Using the top navigation menu, navigate to Language > Manage Students (851) form.
Step 2: Using the 'Search' button from the top toolbar, search for the course containing the students.
Step 3: Click the 'Pen' icon in the 'Edit/Exit' column of the row corresponding to the student you want to make changes too.

Changing Seat Type
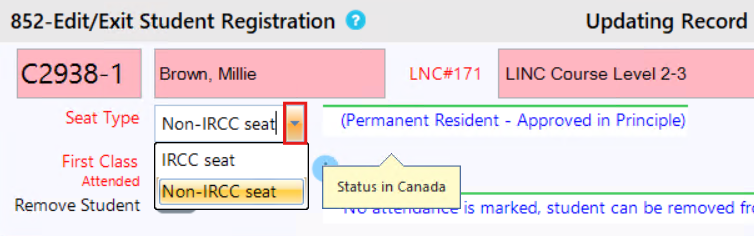
The field 'Seat Type' will show the default option based on the users status in Canada. To change the seat type click the drop down arrow and select a different seat type.
Changing First Class Attended
Click on the field 'First Class Attended', once clicked a date box will appear, select the students first class date.
Please Note: If you hover your mouse over the ![]() icon, detailed information related to the field will be shown.
icon, detailed information related to the field will be shown.
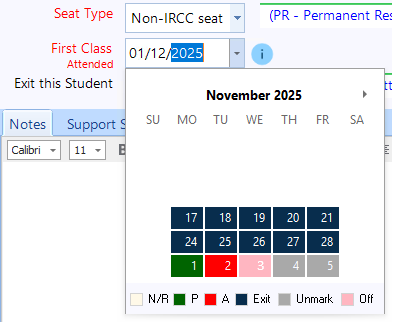
- N/R: The Yellow colored boxes refers to 'Not Registered', you cannot mark attendance for this day.
- P: The Green color refers to 'Present' for attendance on that day.
- A: The Red color refers to 'Absent' for attendance on that day.
- Exit: The Dark Blue color refers to 'Exited' if the student was exited before and re-enrolled back in the course, the blue color will show the exited days.
- Unmark: The Grey color refers to 'Unmark' meaning unmarked attendance.
- Off: The Pink color refers to 'Off' days or 'Class Cancelled/Holidays' days.
Removing A Student
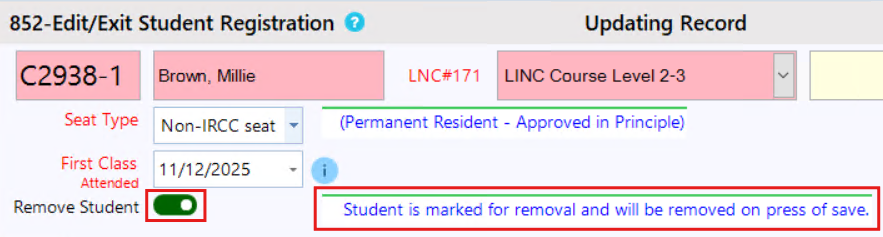
On the field 'Remove Student' click the toggle button. Once clicked the helper text will update, informing you that this student is marked for removal. Once you click 'Save' the student will be removed from the course.
Exiting A Student
If the student has marked attendance, you will be able to exit them from the course. To exit the student, toggle the button on the field 'Exit This Student'. Once clicked the helper text will be updated and more fields will appear below.
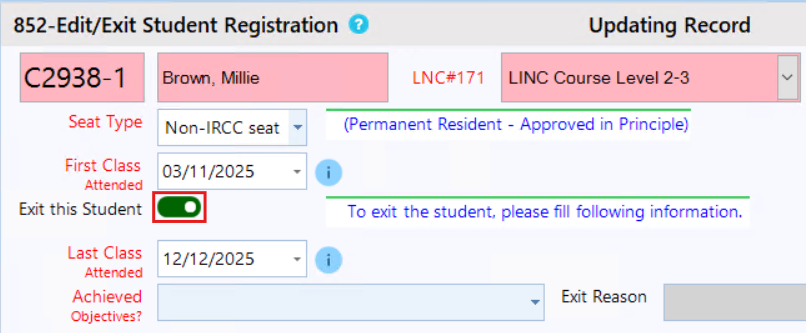
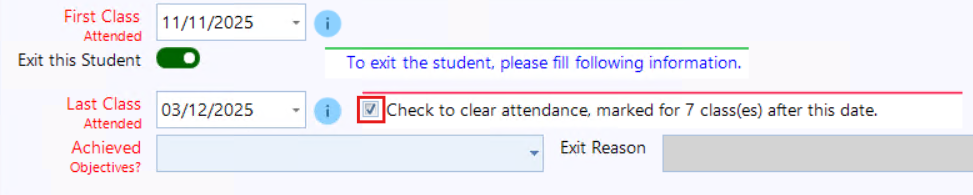
Ensure the date of last class is correct for the student. Then click on the drop down field 'Achieved Objectives' and select an option. Please note: if you select the option 'No - Exited the course before completing' then the 'Exit Reason' field will become active.
Please take into account these two scenarios that may occur when exiting a student:
Scenario 1:
If attendance is marked before the student’s First Class Date (for example, you marked 2 weeks but the student’s first class was only 1 week ago), a check box message will appear. The message indicates those earlier classes are outside the student’s enrollment period, and you must clear the attendance entries before the First Class Date as this is required before you can continue.
Click on the check box to clear the attendance entries, upon saving the system will clear the attendance for you.

Scenario 2:
If attendance is marked beyond the student’s last class date (for example, you marked 2 weeks but the student’s last class was 1 week ago), a message will appear. The message indicates the student exited before those later classes, and you must clear the attendance entries after the last class date as this is required before you can continue.
Click on the check box to clear the attendance entries, upon saving the system will clear the attendance for you.

You will see two options:
- Add Exit CLB – Use this button to add an Exit CLB for the client immediately.
- Do It Later – If you prefer, you can skip this step and add the Exit CLB at a later time.
Adding Notes and Support Services
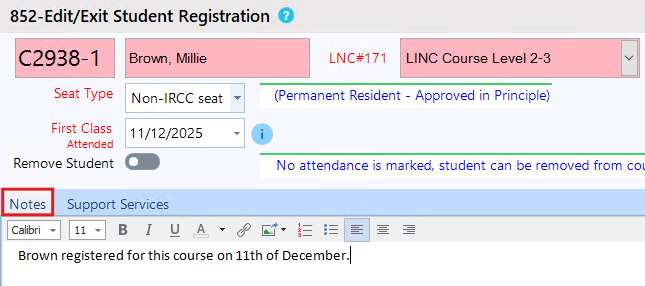
In the 'Notes' tab you can enter information regarding the student.
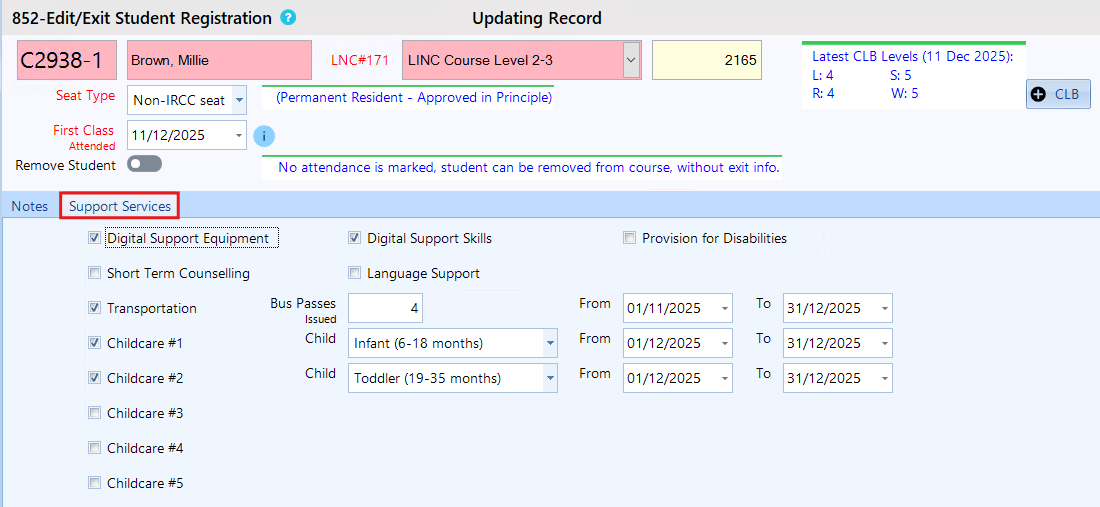
Click on the 'Support Services' tab. Using the check boxes select the appropriate support services. Selecting 'Transportation' or 'Childcare #1 - #5' will show other related fields.
Adding CLB Scores
You can add CLB scores to the student by clicking on the '+ CLB' button on the top right, next to the CLB score status. To learn more about CLB assessments scores, please check out our article on, How to manage LINC assessments

Once you have added the CLB score, it will be displayed in the edit/exit student form. Please Note: The CLB level shown on this form is recorded during this registration.

Step 4: Once you have made your changes, click the 'Save' button at the bottom of the form.