
Managing program waitlists effectively is essential to ensuring a smooth and timely client intake process. CARMIS provides tools that allow staff to view, filter, and manage waitlisted clients, helping organizations stay organized and respond quickly when program spaces become available.
This article walks you through how to manage program waitlists in CARMIS, including viewing waitlisted and exited clients, running reports, and communicating with clients directly from the system.
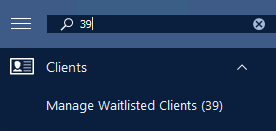
Searching a Waitlisted Client:
This will open the Create/View Waitlist form shown below.

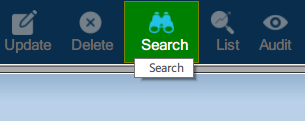
Step 2: Click on the 'Search' button from the toolbar.


Adding A Client To Waitlist:
Step 2: Click on the 'Search' button from the toolbar and search for a waitlist that you would like to add clients too.
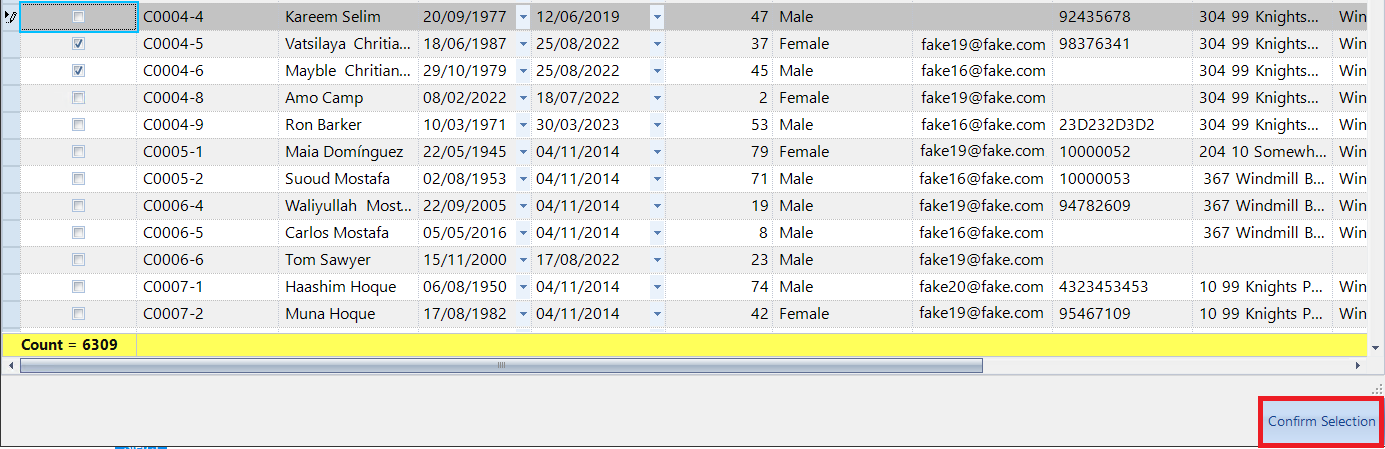
Step 3: Once you have a waitlist selected, click on 'Find Clients (add to waitlist)' button located at the bottom left of the window.
Email Clients on this Waitlists:
Removing A Client From A Waitlist:
Step 2: Search for a waitlist containing clients.
Step 3: Click on the Red X circle button in the row of the client you would like to remove from the waitlist.

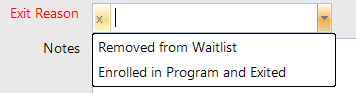
Step 4: Once clicked, a new window will open showing the client's information and the waitlist they're in. Click on the 'Exit Reason' dropdown and select the reason for removing the client. You have two options:
- Removed From Waitlist: Client don't want to continue in the waitlist.
- Enrolled in Program and Exited: Spots were available and client was enrolled in the program.
Select the options that fits best your situation.
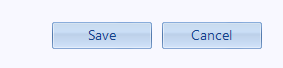
Step 5: Once you have selected the reason click on the save button. This will update the table and will remove the selected client from the waitlist.
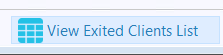
View Exited Clients List:
Deleting a Waitlist:
Please note: If you have the permission to delete a waitlist then you can proceed with the steps. Additionally, the waitlist cannot contain any clients before it can be deleted.
Step 2: Search for the waitlist which you would like to remove.
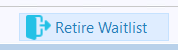
Step 3: Click on 'Retire waitlist' button located at the bottom-left of the window.
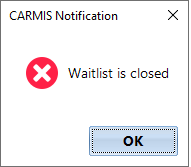
Step 4: Once clicked, a CARMIS notification will open letting you know that the waitlist is closed.
Frequently Asked Questions (FAQ)
Q: Why cannot I see the button 'Retire Waitlist'?
A: The 'Retire Waitlist' button is only available to users with the required permissions. If you'd like to remove a waitlist, please contact your administrator for assistance.