
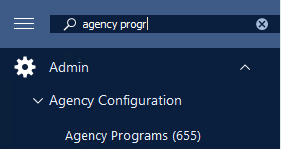
How To Add A New Program
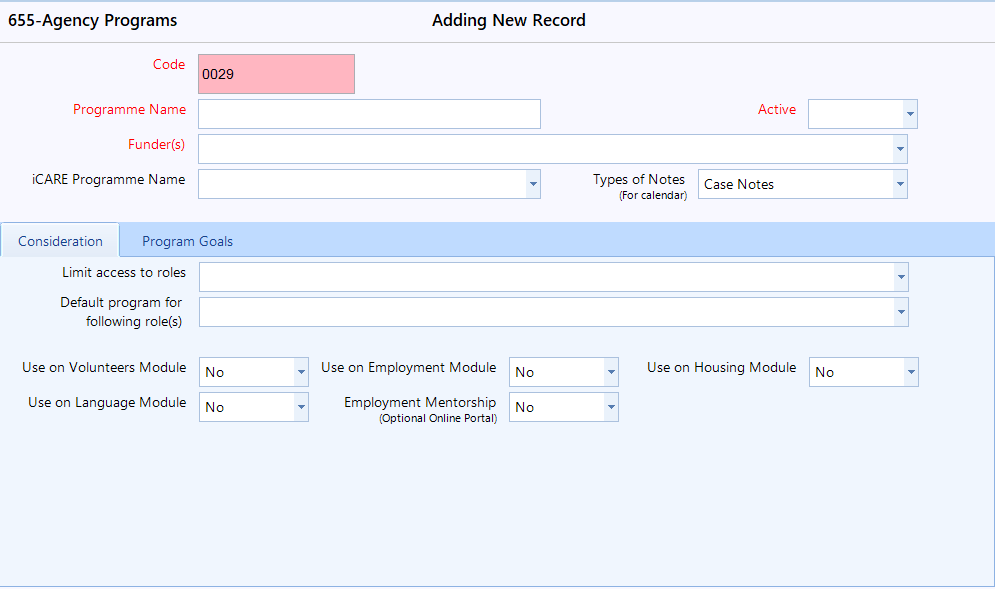
Step 2: From the tool bar, click on the 'Add' button to enter add mode.
- Programme Name - Enter the name of the new program.
- Active - Set the active field to 'Yes' so it will display, if you set it up as 'No' it will be disable.
- Funder(s) - Select one or more funders for this programs as applicable.
- iCARE Programe Name - If this program is funded by IRCC select the options based on your contribution agreement.
- Type of Notes - If you are using the calendar in CARMIS select Case notes.

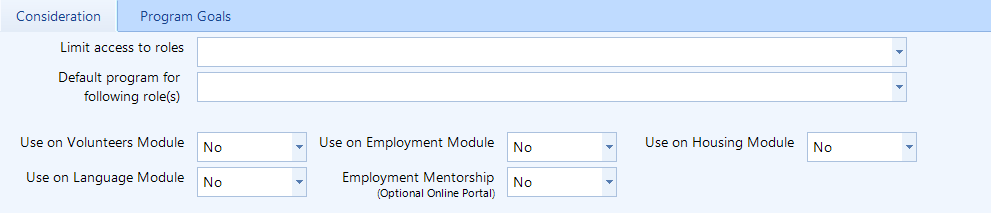
Consideration Tab
The Consideration tab is used to configure access control and module availability for a program in CARMIS. These settings determine which staff can see the program and where it will appear across the system.
Limit access to roles:
Use this field to restrict the program to specific user roles. When roles are selected, only users assigned to those roles will be able to view, select, or manage this program. If left blank, the program will be available to all roles with program access.
Default program for following role(s):
This option allows you to assign the program as the default selection for specific roles. When users with those roles create a new client or record, this program will be automatically pre‑selected.
Module Availability
These options control where the program is available within CARMIS. Set each option to Yes if the program should be used in that module.
Please note: You don't have to select Yes to all of them. And if you are not using any of these modules.
- Use on Volunteers Module: Makes the program available for volunteer‑related records.
- Use on Employment Module: Enables the program within the Employment module.
- Use on Housing Module: Allows the program to be used for housing‑related services and cases.
- Use on Language Module: Makes the program available in the Language or Settlement module.
Step 4: Once you are ready click on the save button.
To add activities, please refer to the following Knowledge Base article: How to add new activities.
Program Goals Tab
The Program Goals tab is used to define the main objectives of a program and link those objectives to the activities required to achieve them. The goals defined here are made available during the NAARS assessment process, allowing staff and clients to align services with identified needs.
Please note: that you must save the new program first before you can add or select activities. Activities must be created and associated with the program in order for them to appear in the dropdown list.
To add activities, please refer to the following Knowledge Base article: How to add new activities.
How This Tab Is Used
- Define Program Goals: You can list multiple high‑level goals that the program aims to support. These goals represent outcomes the client is working toward as part of the program.
- Link Goals to Program Activities:
For each goal, you can associate one or more program activities. These activities represent the services, actions, or interventions required to help achieve the selected goal.
